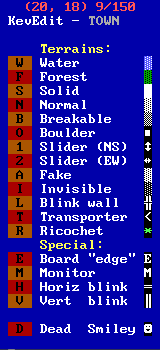
Pressing "F3" opens the terrain menu, which is mostly the same as ZZT's again. One thing that's different is water here uses light gray on dark blue unless default colors are off. This is different from the water already on the pattern buffer which uses the current colors. This is _also_ different from ZZT's own editor which uses blinking bright blue on light gray for water. But it's the same as the water found in DEMO.ZZT's example water! The assumption is that Tim changed the default water colors at some point in development to make sharks hide in the water by blending in. KevEdit opting to bring that back is an odd choice.
The "Special" section under terrain offers some more interesting elements. The first is a board edge. Every ZZT board is in reality surrounded by a border of board edge elements. Touching these is what activates the transport to a connecting board. You can place them arbitrarily with KevEdit! Just keep in mind that an "edge" in the center of the room will still put you in the correct spot as if you touched a regular edge in that direction. It's hard to describe, but easy to play around with and see for yourself. KevEdit shows them as a capital E, but in ZZT they'll be invisible except for their background color.
Then there's the monitor! This will be of no use to you. On the title screen of a world, the player gets replaced with one of these and it handles the keyboard input for functions like opening the world list or editor. If you have one of these on a board and the player presses "W" they'll be booted from the game and the world menu will open. There's no real benefit to using a monitor within your game, but it is a valid ZZT element so KevEdit it happy to let you place them. Monitors also display only a background color within ZZT rather than the M shown in KevEdit.
The horiz and vert blink are the rays cast by blink walls normally. If there's no blink wall for them to connect to they simply serve as a custom wall character, similar to ZZT's line walls. In a pinch they can be used instead of objects for decoration without using a stat.
And then the dead smiley! How morbid. These are typically referred to in older tool kits as dummies. In reality they're just statless versions of the player which can be used here rather than having to make a clone and manually remove its stats. Since a dead smiley has no stats, it color will stick unlike that for player clones. This makes them useful when filling out a crowd without using objects with stats. The downside is that unlike objects, they're destroyed when shot, so it may be best to keep them in places the player (and other bullet shooting elements) can't access.
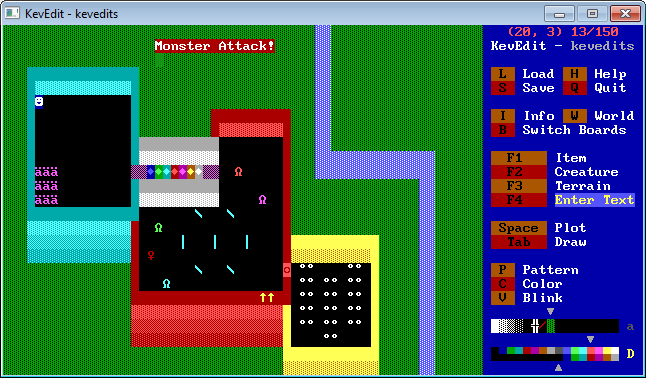
Finally we have the text mode for this text mode editor. Pressing F4 toggles entering text which then allows you to type up your text on the board in a way that doesn't use stats. The downside is that there are only seven colors of text and they all use a white foreground color. Unlike everything else, this can't be got around by editing the world by hand since the data usually used to determine what color a tile should be is used here to encode which character it gets instead.
The text here in KevEdit does support word wrap in case you're writing a long message out.
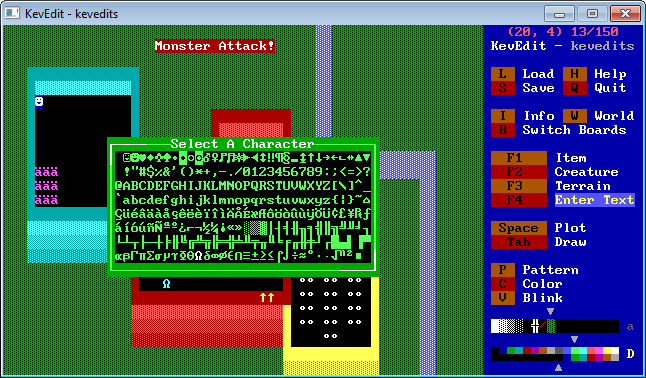
ZZT only accepts characters which have keys on a standard keyboard, but if you hit "control" + "a" in text mode, KevEdit opens a character prompt where you can choose to write text with any character.
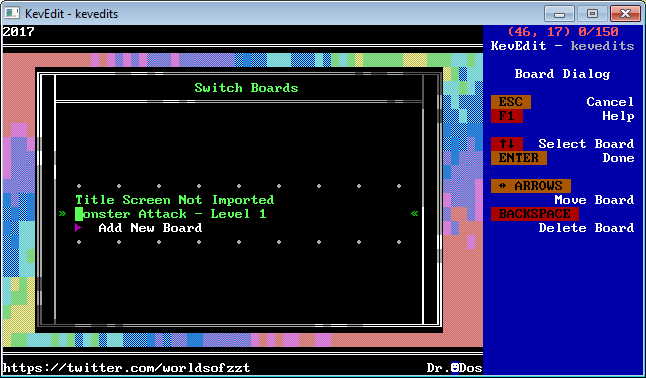
Now that we have this amazing board, let's go back to that ugly title screen. You could press "b" to bring up the board list like we did earlier when creating this board, or you can use "page up" and "page down" to automatically cycle to the previous/next board in a file. ZZT's own editor requires you to use the "b" key.
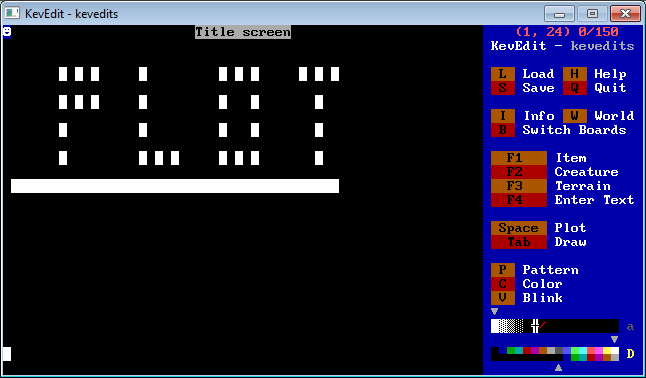
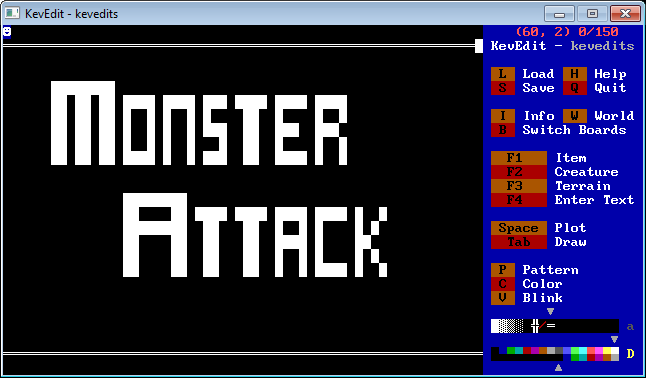
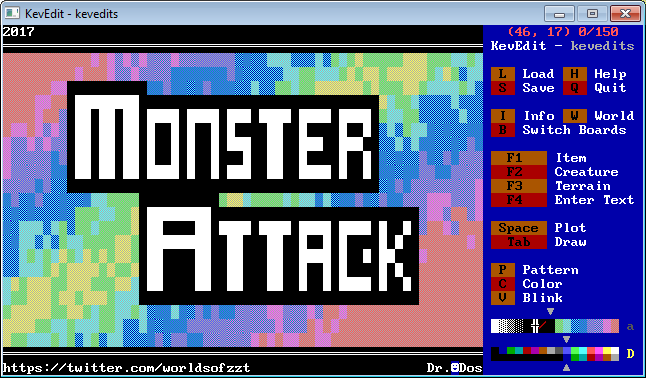
Oh man, this looks awful. Who would look at this and want to play Monster Attack? Nobody. Let's start from scratch. Press "z" to bring up a prompt asking to clear the board.
Our title screen has now been blown away to nothing. If you bring up the board information again with "i" you'll see that the cleared board has had its title erased. All the other board options are reverted to default as well. You may want to give the title screen its name back again.
Let's use the draw feature to make some large letters out of walls. In preparation of something to demonstrate later, let's only use white solids.
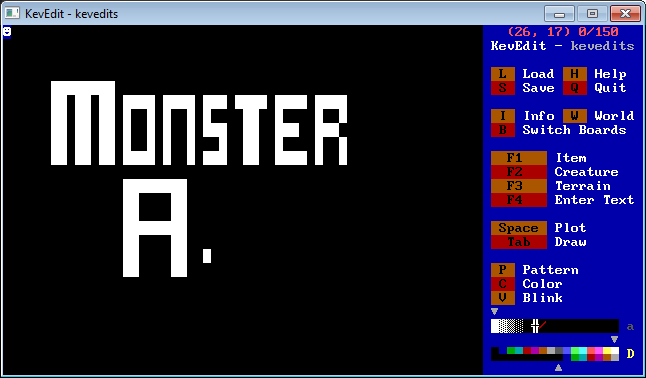
You can put a lot of time and effort into lettering for title screens, or you can just throw things together like I did here. Some quick lettering tips can be to use half-solid characters to round out corners better by making some objects (or if you're using white you can use white text). The even number tile width I used makes the "t" look fatter than the other letters, and the current "r" isn't very high quality either, but this isn't a lesson in font design.
I stopped at this point because I realized I was going to need two more "t" letters. I could just make them from scratch two more times, but KevEdit offers a better way.
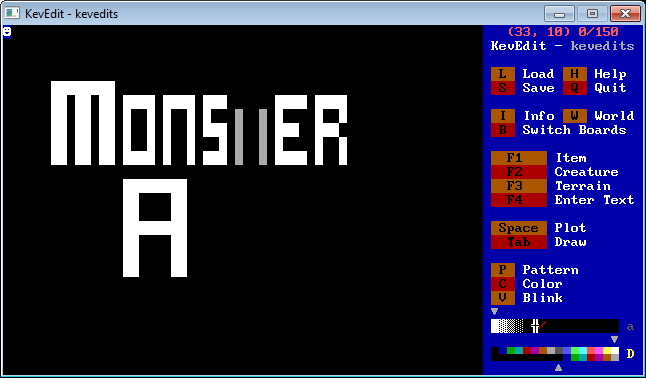
Move your cursor to the top left of the earlier "t", hold "shift" and then use the arrows to move the cursor towards the lower right of the "t". KevEdit allows you to select multiple tiles like this! Now with a simple "control" + "c" we can copy those tiles to the clipboard.
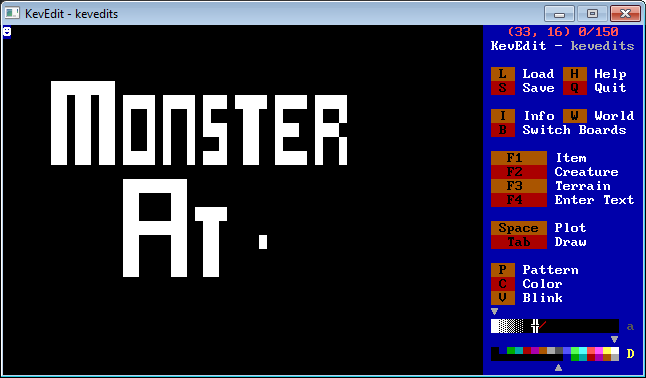
Hitting "control" + "v" will paste the clipboard. Note that it pastes at the location the tiles were copied from so you'll need to move the pasted letter with the arrow keys into position. The paste will happen in the same spot no matter where your cursor is when you activate the function. Pressing "space" or "enter" confirms the positioning and applies the changes to the board. Pressing "escape" cancels the operation.
Also notice that I accidentally made my "A" one tile too tall. I can easily fix this by selecting those tiles with "shift" and arrow keys, setting my pattern buffer to an empty, and using "control" + "x" to cut the tiles to the clipboard rather than copying them. When you cut, the area that's removed is replaced with whatever the currently selected pattern is. Had I left it on the white solid I was set to earlier the existing white solids would have been removed, but a new set would have been put in their place because of the cut operation.
Cut/Copy/Paste functions are extremely useful. They also work on an internal clipboard so whatever you had in your OS's clipboard will still be there unharmed.
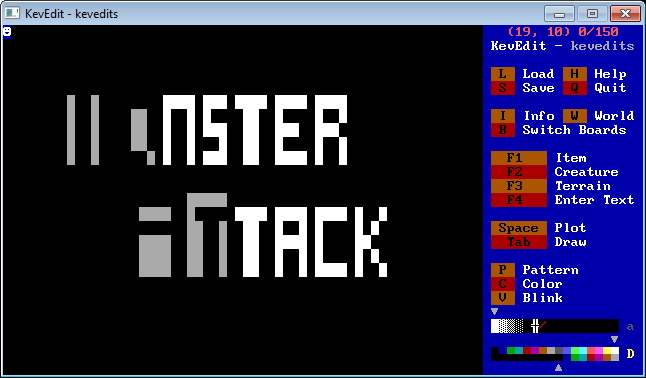
The select tool isn't limited to a single selection either. Until you hit "escape" to clear your current selection, you can add additional selections the same way as the first. Here I've selected the "Mo" and "At". If you have the patience you can select arbitrary shapes one tile at a time by selecting an already selected tile and one that it borders. (Well, the first selection will have to be two tiles, but after that it's one by one.)

One habit I've gotten into is reserving space on the title screen to note the author and link to the Worlds of ZZT project. I tend to divide the title screen with some horizontal blink wall rays. Here I have one done for the top. For the bottom you could just draw another, or select and copy/paste the top so there's another on the bottom. Rather than run across the width of the entire board to make that selection though, it's easy to just use "x" to make a flood select and get the whole thing with one keypress.
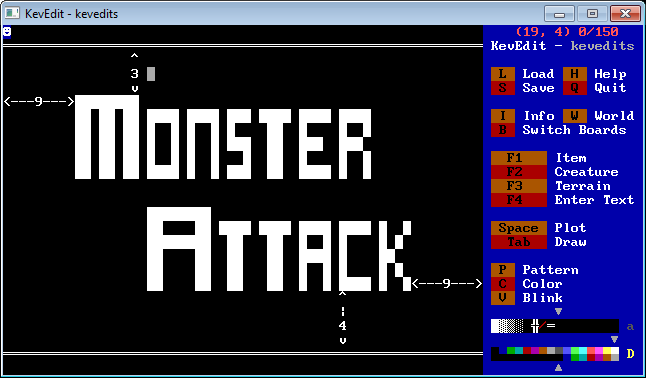
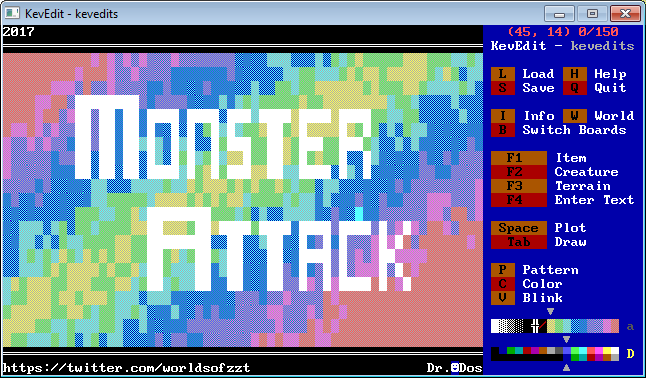
It's looking a little better now, but that text isn't centered at all. There are two rows of empties above it, and five below. Six empties left of the "Monster" and twelve empties right of the "Attack". In our case, we can use capital "X" to select all tiles that match what the cursor is on top of and easily grab the entire thing at once by cutting it and positioning it better.
Now that's a Monster Attack that's sure to win a MadTom's Pick award. It could definitely use a background though, and we can't easily select just the empties in the middle area with either "x" or "X" due to extra empties on top and bottom as well as some empties in the middle that are surrounded by solids. We'll want to erase this title screen again, add a background, and then place the lettering on top. But that sounds awful. There's no need to lose everything over this. Instead, press "t" to open the board transfer dialog and select "Export To Board File".
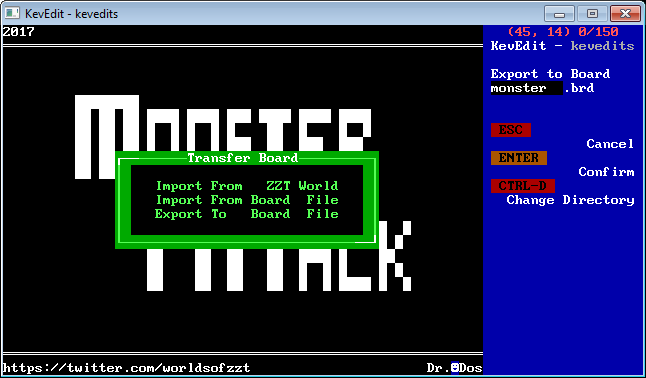
This will export the board to a "brd" file, a feature ZZT supports as well. You can then press "t" again but select to "Import From Board File" and select the exported board to import a copy of it. One feature KevEdit brings to ZZT over this is the ability to import a board directly from a ZZT world without exporting it to "brd" form in the first place. We could've just imported from the current world actually.
Do note that when you import a board, board connections and passage connections need to be verified. If a passage on an exported board was set to lead to the 10th board in a file and is imported into a world that doesn't have 10 or more boards, it will default to the title screen. Double check exits when necessary!
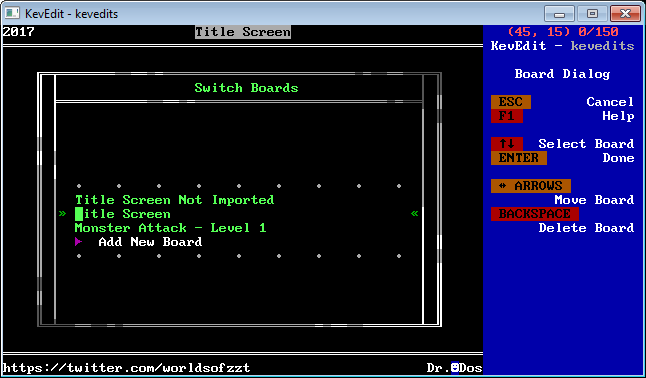
Now imported, the board list has a second "Title Screen". The imported board is inserted after the current board. KevEdit will update the passages and exits throughout every board automatically to prevent breaking board connections.
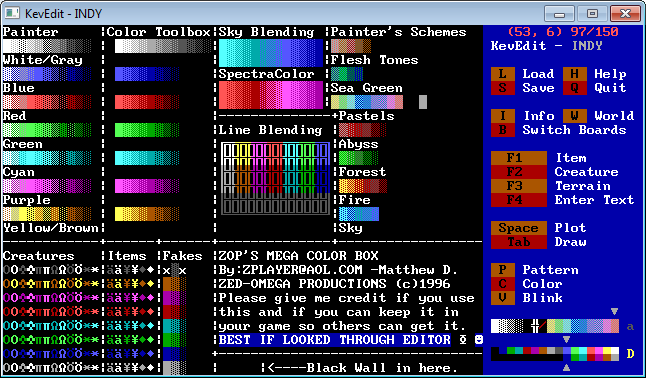
Meanwhile, in another ZZT world I had in my folder I dug up a random tool kit (these are what people tended to use prior to external editors) and filled my custom pattern buffer entirely with the pastels fade. Remember you can grow and shrink the buffer with ">" and "<".
If you want to match this fade exactly its made up of:
yellow on light gray breakable
green on light gray breakable
cyan on light gray breakable
cyan on dark blue breakable
blue on dark cyan breakable
blue on light gray breakable
purple on dark cyan breakable
purple on light gray breakable
red on light gray breakable
Feature request for KevEdit: The ability to define fades.
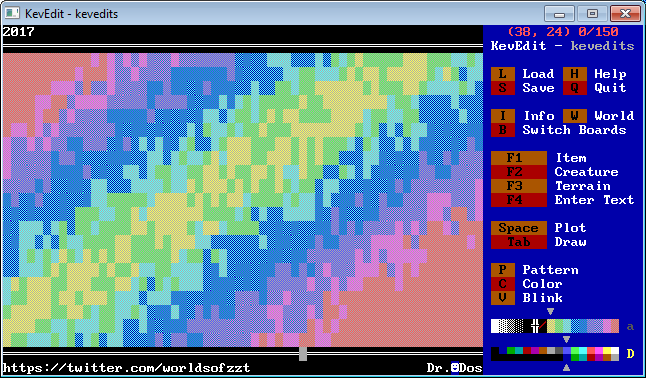
Back in our own world, we can use one of the selected tiles and press "f" to flood fill the area.
This blue looks pretty nice, but let's go all out and use "F" to instead do a _random_ fill.

How awesome is that? Creating a pattern like this by hand would take a long long time, but KevEdit reduces it to a single keypress. Of course, pastel vomit may not be your style. You can select the region and clear it out to try something else.
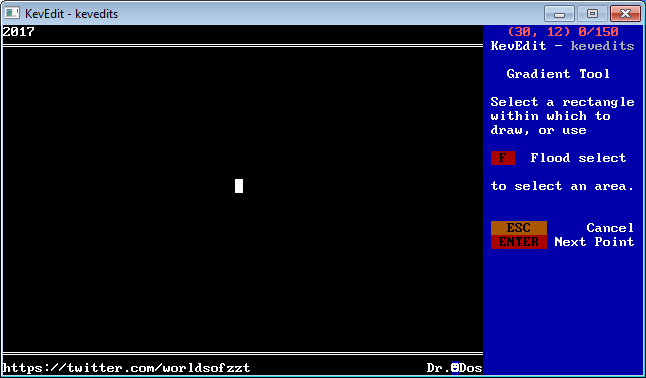
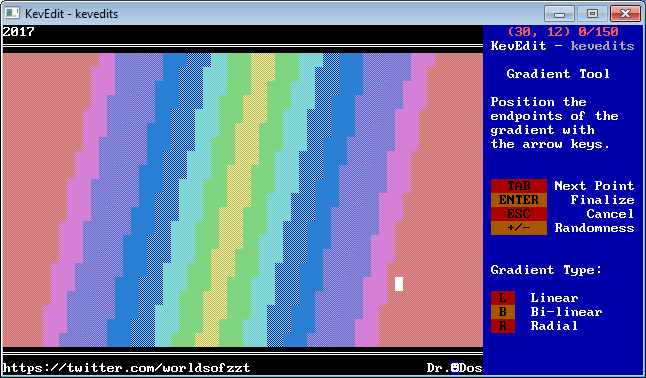
Perhaps a gradient! Press "g" to open the gradient tool. You can select the entire area from here with "f" to flood select, or define corners with the space bar.
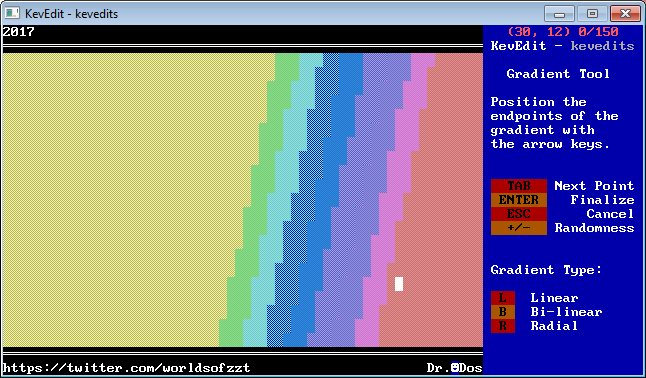
This will let you start previewing some gradients based on the origin point and the cursor's position. Move around with the arrow keys to position the gradient.
You can change its type with the "l", "b", and "r" keys between "linear" (shown above),
"bi-linear"
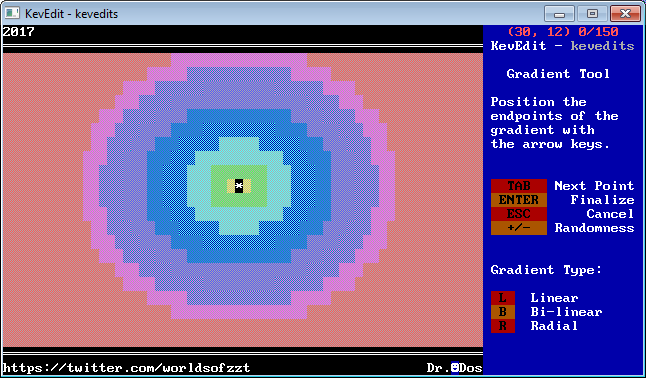
or "radial".
You can use the "tab" key here to cycle between the two points used for the gradient as well, letting you adjust either from this interface.
Lastly the plus and minus keys can adjust the randomness, letting the edges bleed out more and more. This seems to require the plus/minus keys not on the numpad to do anything. This is the gradient I settled on.
Again, KevEdit makes this sort of thing much faster than doing the work by hand, but it's not a flawless solution to ZZT graphics. It's nice for backgrounds, but your game's artwork won't be made be KevEdit, only made more easily.
Switching over to the imported title board from earlier, you can use the "X" selection method to select the text, then copy and paste it back onto the new title screen.
Finally, I erase a n outline around the letters to make sure it can be read. We still have an extra copy of the title screen though that we have no use for. The "z" key to clear a board is the best you have to erase things in ZZT, but KevEdit allows you to remove a board entirely. Open up the board list again with "b" and highlight the board that's no longer needed.
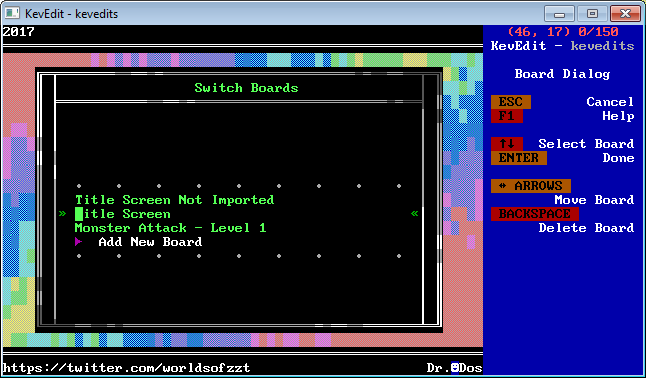
Once it's selected, press "backspace" to remove it entirely.