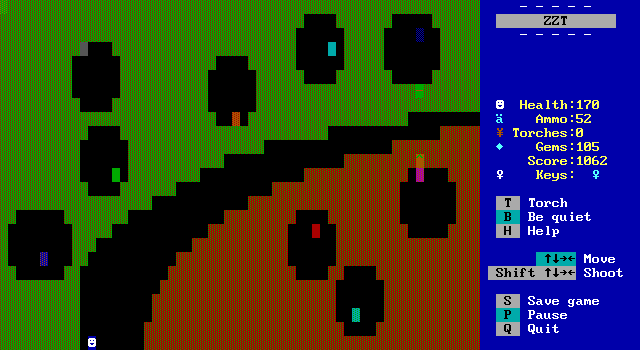
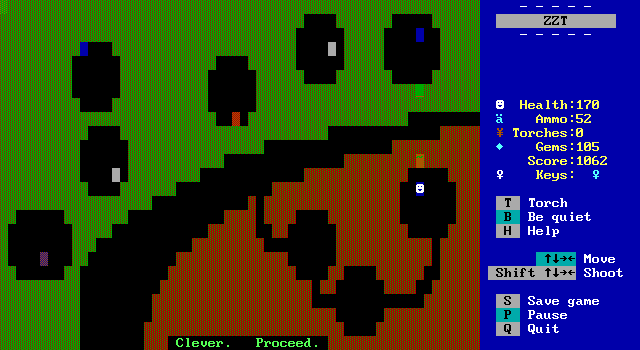
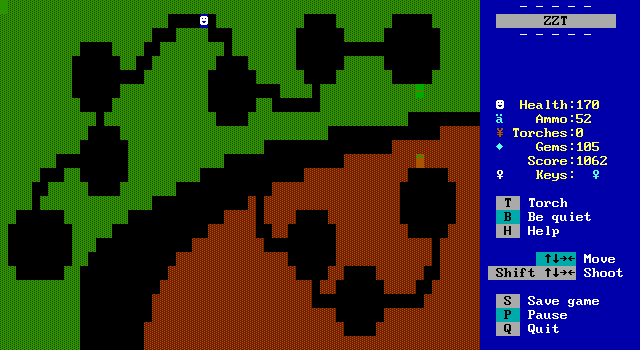
Next up is this room which contains several smaller circular rooms locked away. One of the strange things about this room, is that the player is free to just skip this puzzle and proceed onward. Everything else that wasn't a dead end required the puzzle to be completed before proceeding.
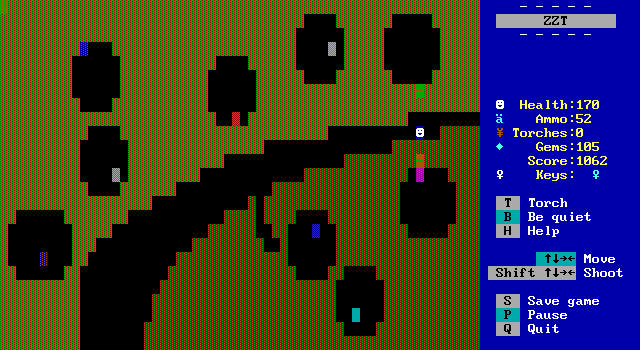
After passing a certain point, an entrance to the first circle will open up to the player. They can then touch the mysterious flashing object inside.
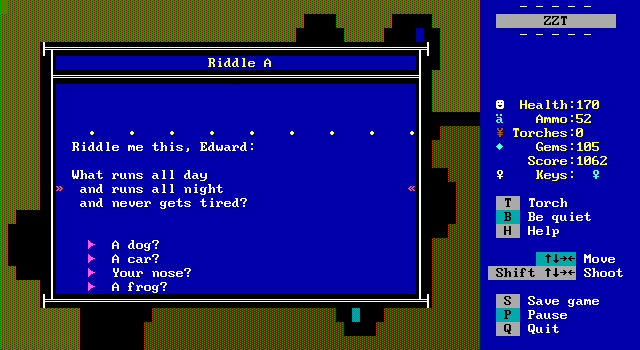
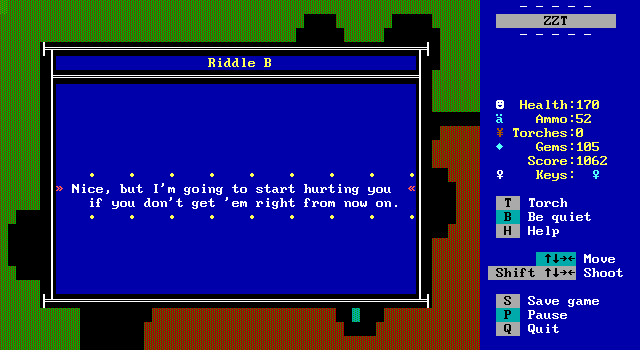
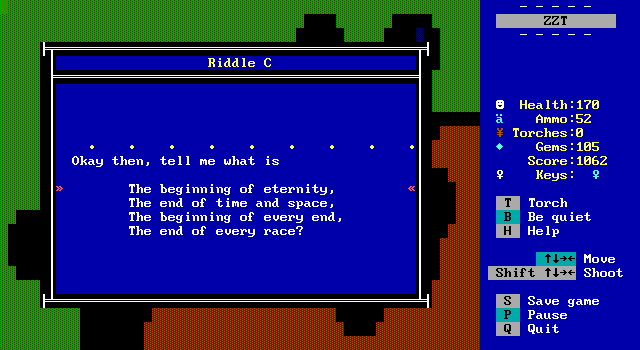
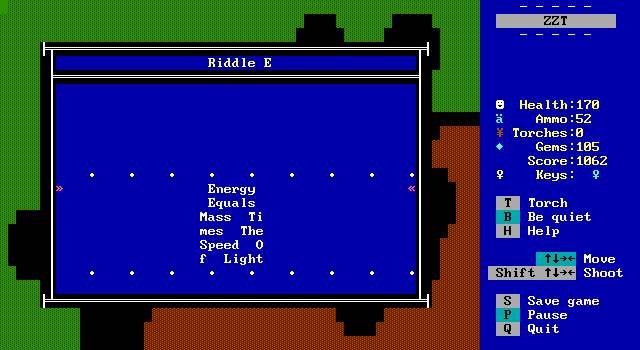
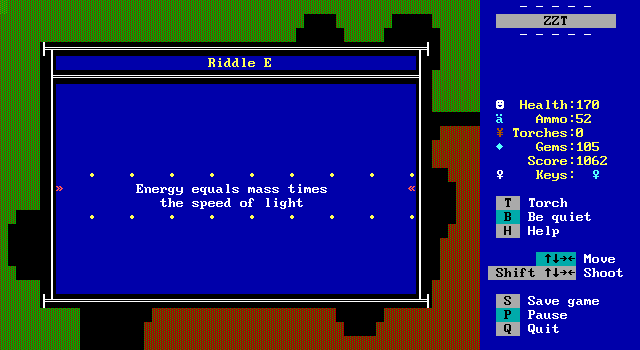
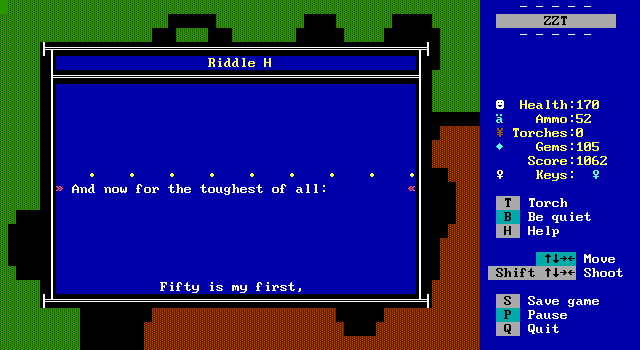
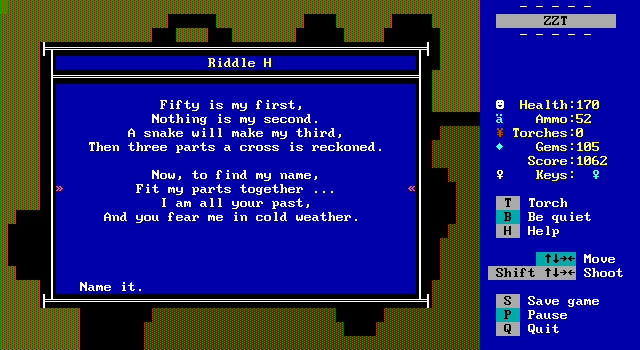
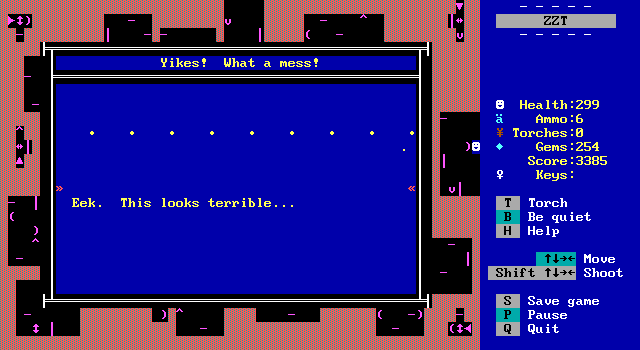
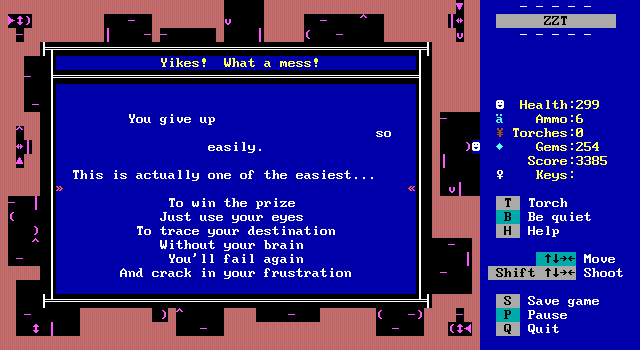
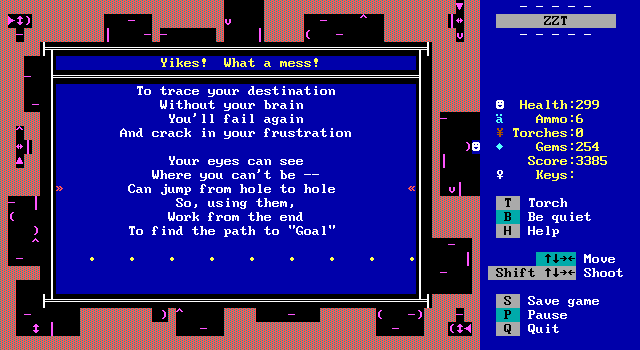
This board consists of a series of riddles. Each one correctly answered opens up the door to the next room.
Whether ZZT's lack of a text parser makes these riddles better or worse is a riddle I leave to you.
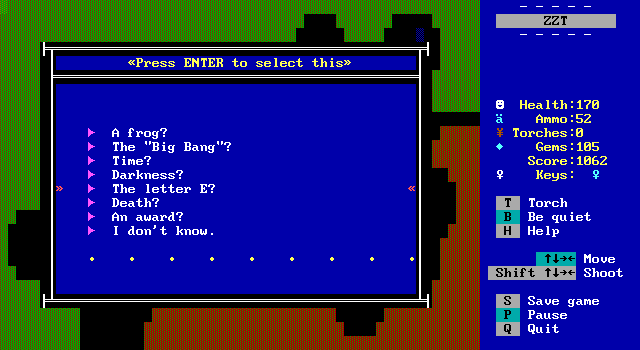
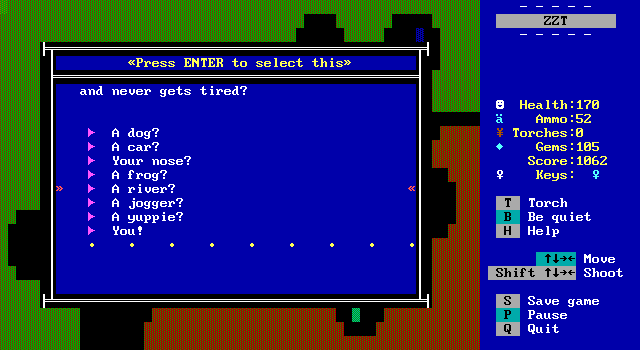
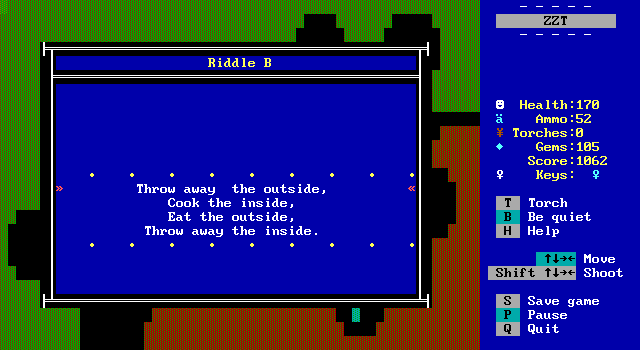
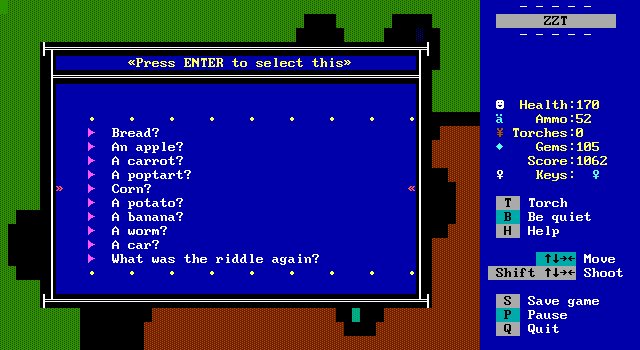
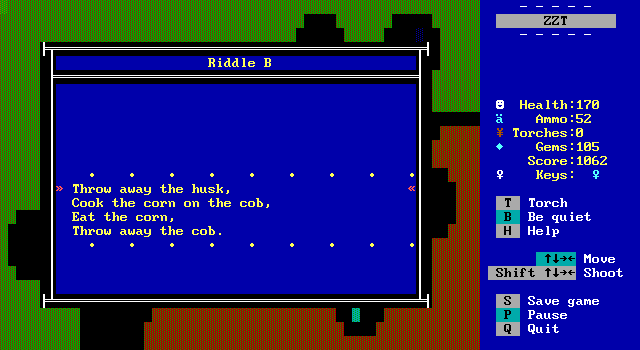
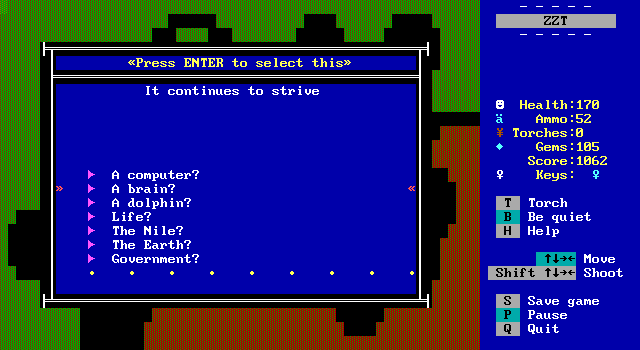
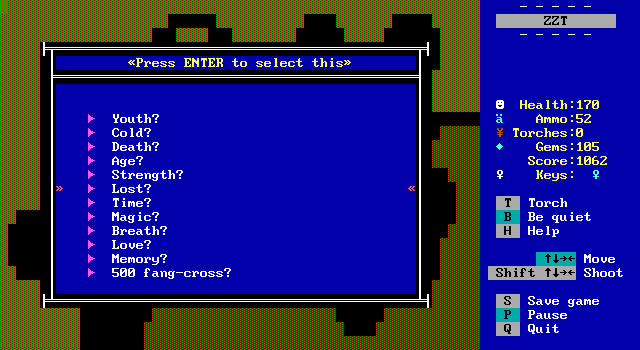
Having multiple choices lets the player try and work backwards. This one in particular becomes easy to deduce when its turned into a multiple choice question.
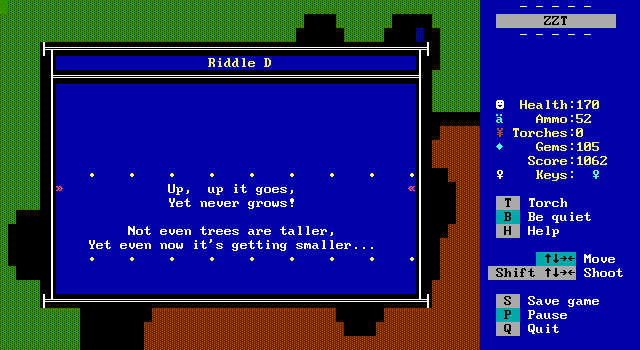
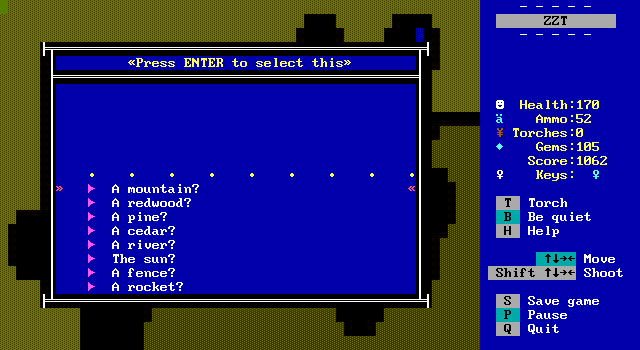

I suppose this one's talking about erosion.
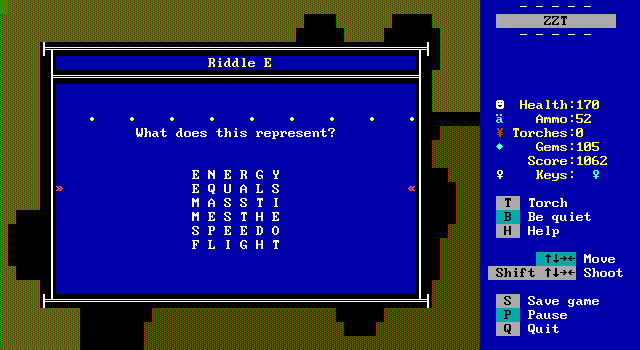
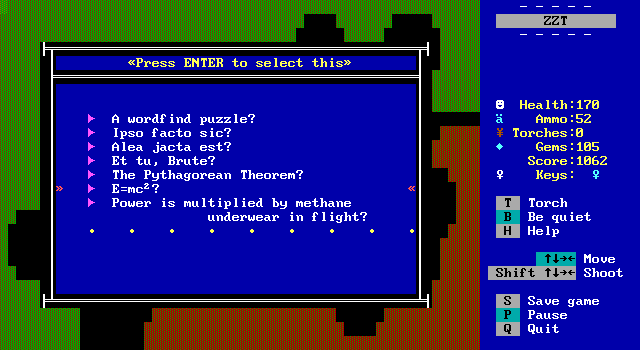
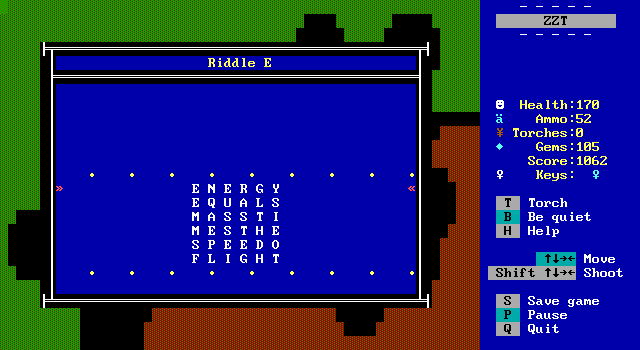

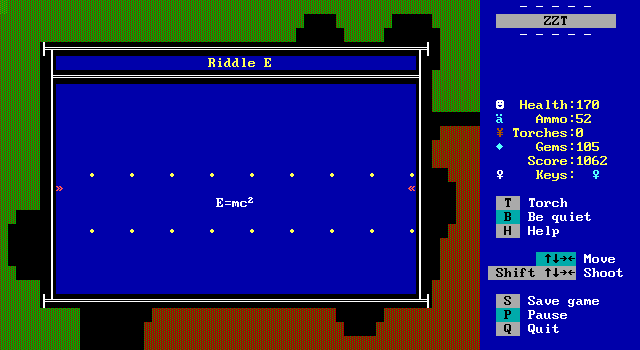
I remember answering a question in some trivia game as a child asking what the c in E=mc² represented and knowing the answer because of this game. Thanks Barjesse.

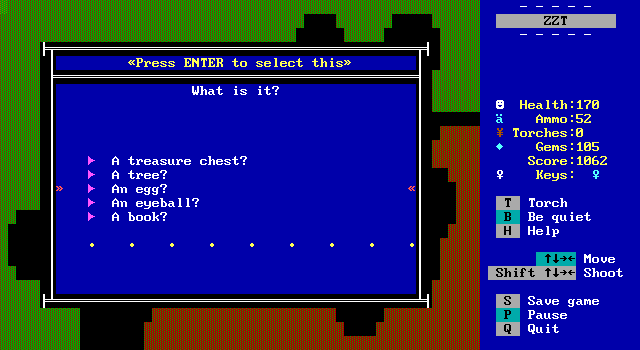
When they only have five possible answers, they tend to be pretty easy.
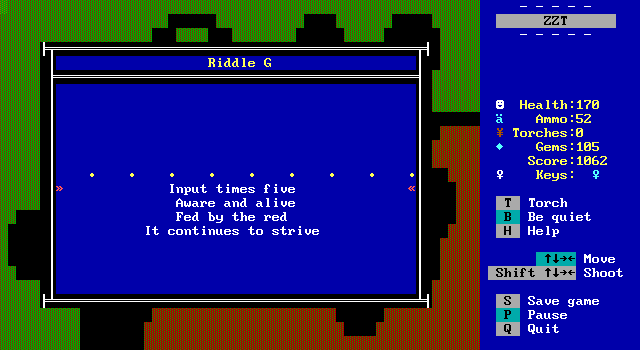
I understood this one to be the brain at first, but couldn't for the life of me figure out how "Input times five" worked into the solution. It's referring to the five senses!
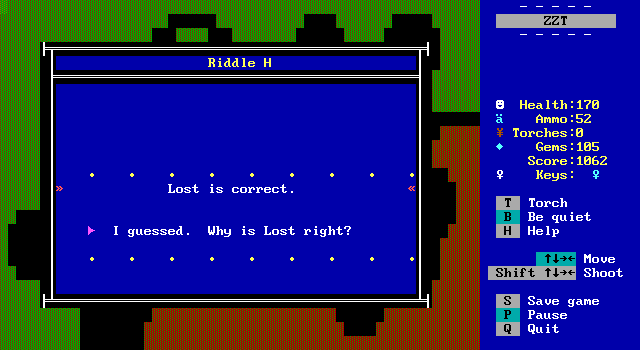
Oddly, this one lets you admit to guessing before revealing the justification to you.
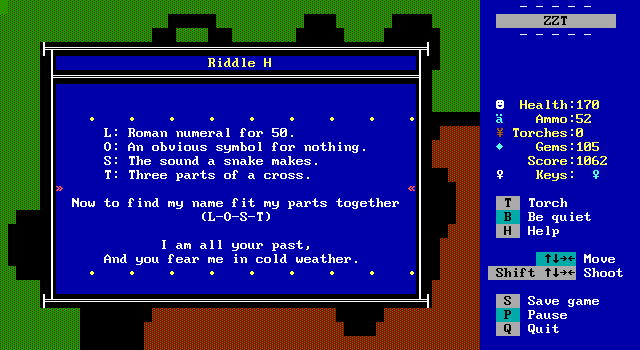

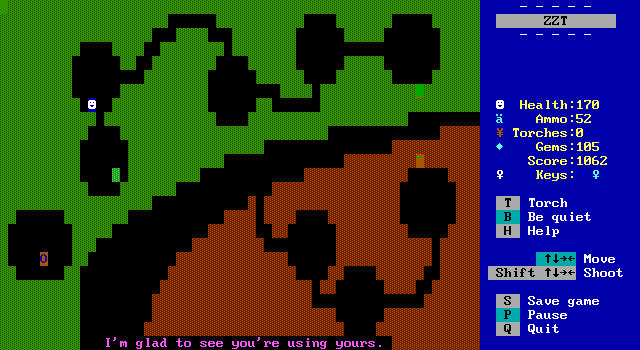
With all the riddles answered, the player gets their "O".
They then have to go through this winding path to proceed! I was really surprised that an object didn't tunnel a way out for the player.
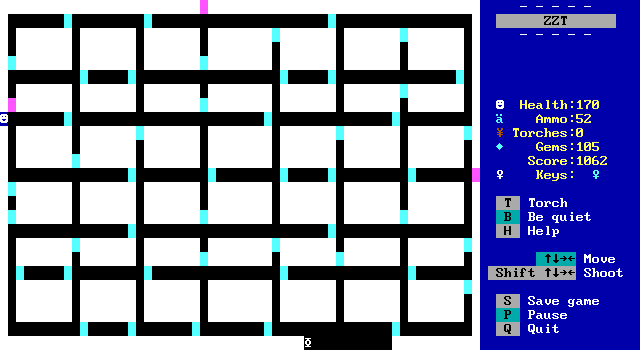
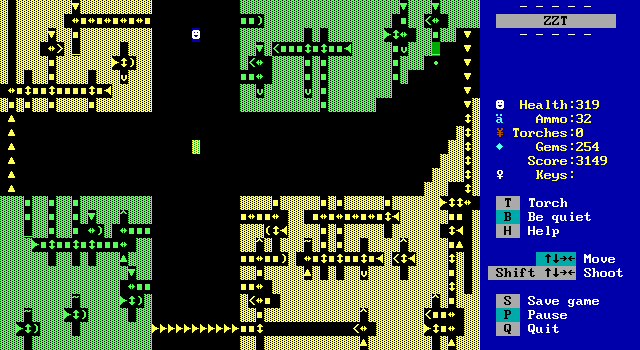
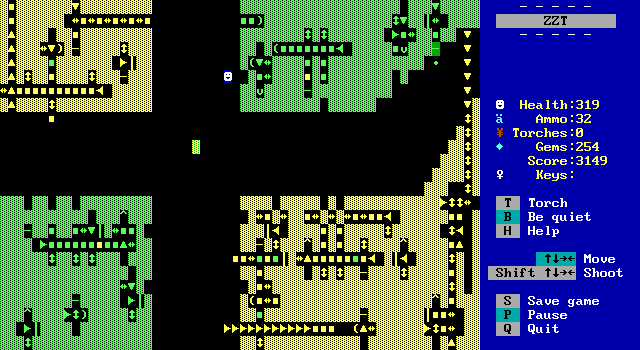
The next part of the path is this very bright room. This board is actually a major intersection and can be reached from the northern hub path, the flashing color maze on the eastern path, or from the western path's riddle room. Though the right path is blocked by default.
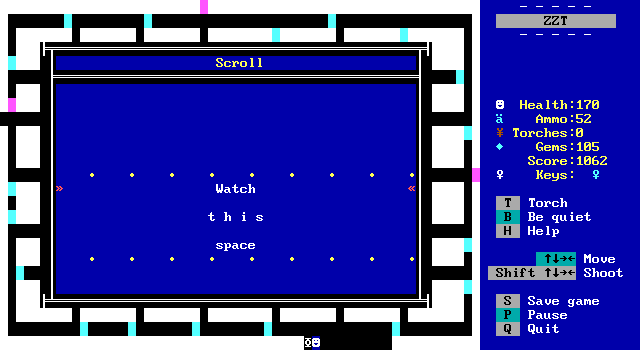
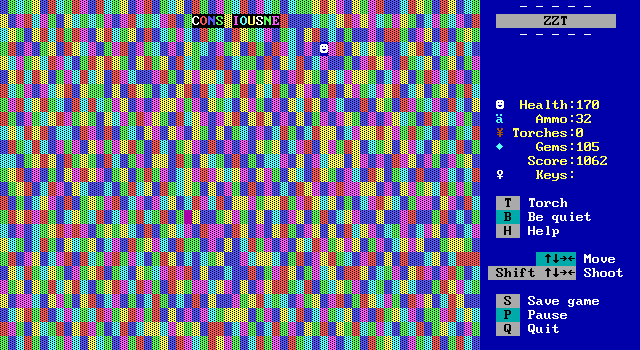
The board is just a simple maze, though touching the purple walls causes the walls to shift around. Once they've all been touched this scroll at the bottom will turn into a piece of consciousness.
Moving south jumps directly to the hub, and we can see a good number of letters have been collected. I turned back around right away to finish up the white maze.
However, instead I was taken to this brick wall looking board. It's one of those puzzles like the clock room or riddles that can be skipped over entirely when backtracking.
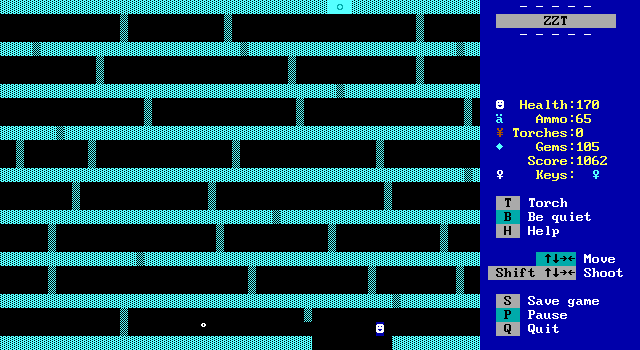
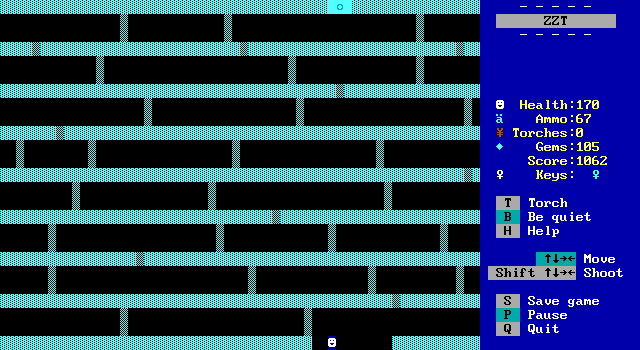
As far as puzzles go, this one is quite basic. The player has to destroy breakable walls to make their way up the board. The room wraps horizontally, so running off the right edge will place the player on the left. What challenge there is comes from some of the breakables actually being objects which shoot back at the player when shot.
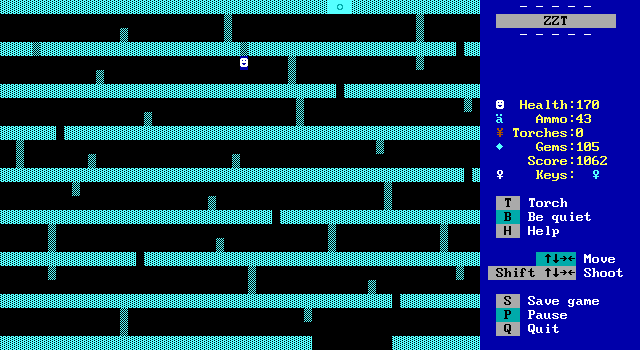
It's pretty weak, and even when making mistakes very simple to not get shot most of the time just by keeping your distance. Alternatively, you can just stand point blank like this and always be safe. You can't shoot objects at point blank range, so a false will won't even waste a bullet. You can shoot breakable walls at point blank so if the wall really is breakable it will be destroyed.
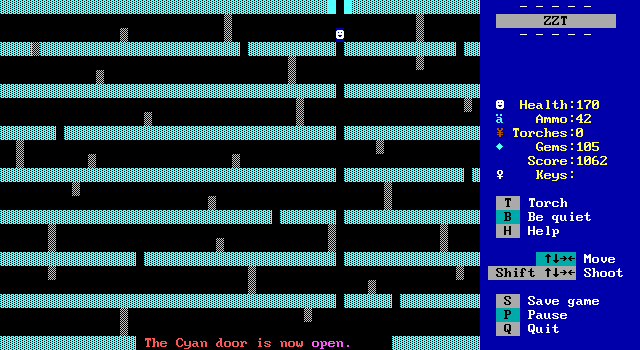
Opening the door offers a shortcut in case the player ever goes north from the hub again as this board would be quite a pain to navigate when solved.

Touching purple walls alters the path, allowing passage to the northern room.
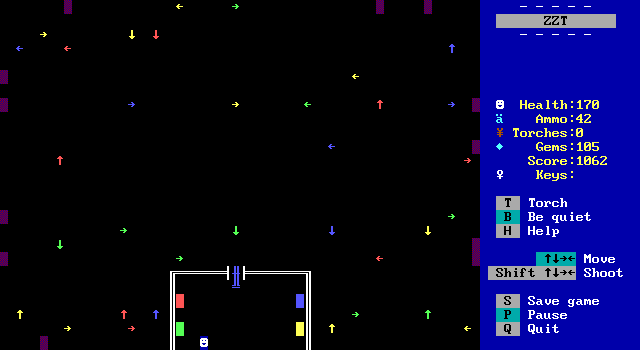
This puzzle is another fun one. A cannon can be used by the player to fire a shot, and when an arrow is shot, it will shoot back in the direction it's pointing.
There are four large buttons as well, which rotate the arrows of a matching color. Every arrow of a color will rotate the same way, but some buttons make their color rotate clockwise and others counter-clockwise.
The player needs to spin things in such a way that all the breakable walls in the room will be destroyed. The player might try to be clever have two arrows face each other so they can rotate arrows while a bullet bounces back and forth essentially endlessly, but the buttons are purposely slow to press making it very difficult to try and adjust arrows fast enough when there's already a bullet traveling.
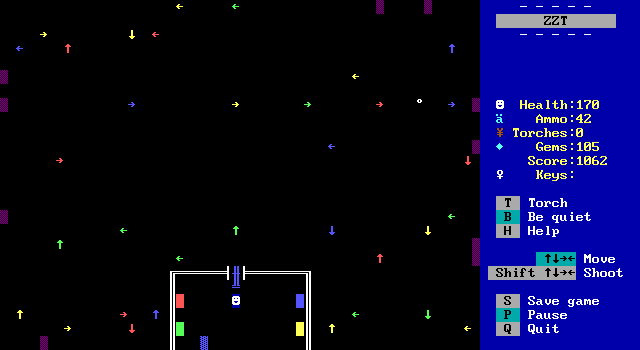
It's not perfect though, and with some long shots you can react fast enough to change things. It's also not uncommon to have an arrow be hit just as it would be rotating from the button causing it to react to the bullet and not rotate. It is possible to (for better or for worse) prevent a single arrow from spinning this way.
If the goal was to not manipulate arrows while there was a bullet around, simple having the buttons check for a bullet on screen before allowing them to be pressed would have prevented it.
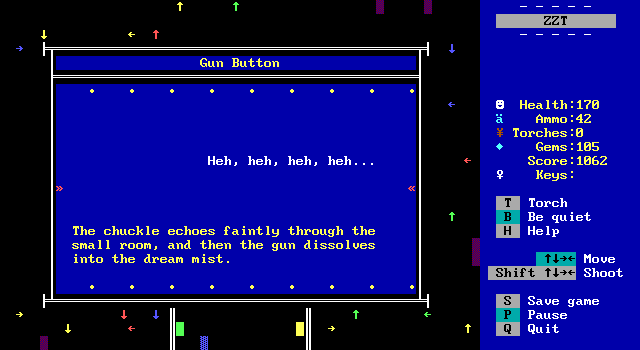
To make things difficult, after a certain number of shots, the gun is destroyed by the Sandman and the player has to use their own ammunition.
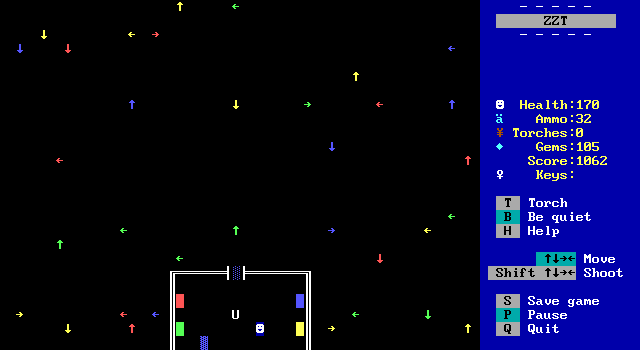
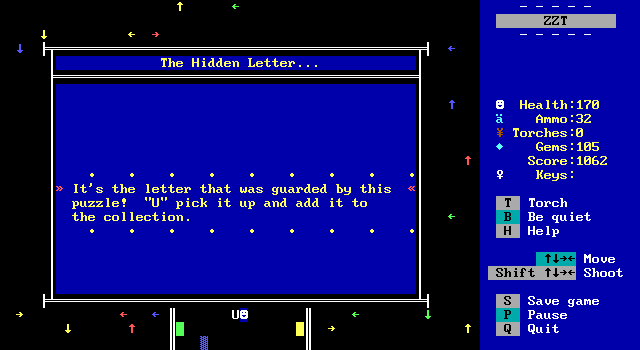
Solving the puzzle gives the player their "U".

And touching all three purple walls turns the scroll into another "O" as well.
Things are really coming along now, with only three letters remaining before the player can finally wake up.
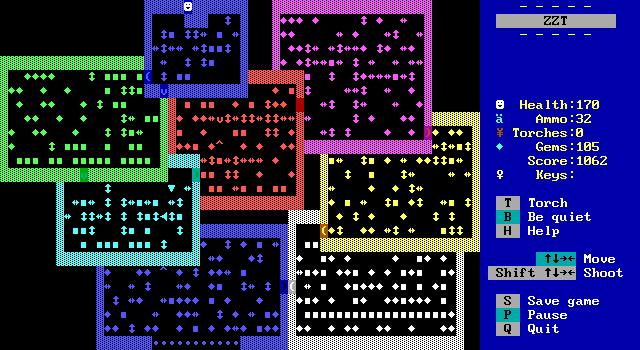
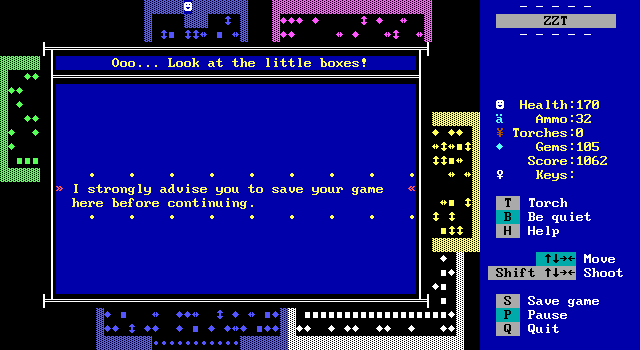

Slider puzzles in ZZT have a bit of a bad rap. They can be pretty tough for sure, but they always look a lot more difficult than the actually are. This board is thankfully nice enough to compartmentalize them, and the smaller a room is, the fewer possible moves there are, and the easier it is to solve one.
There's not too much to say about slider puzzles. You either solve them or you don't. Perhaps it's best told by combining all the in-progress screenshots I took into a nice little gif to watch.

It's fun to see these solved like this, even if this is just haphazardly taken screenshots. Note that the white segment is just a linear path and the only puzzle is not accidentally pushing a boulder and trapping yourself!
Once the exit gate is reached, some objects will pave a path of fake walls to once again save on backtracking.
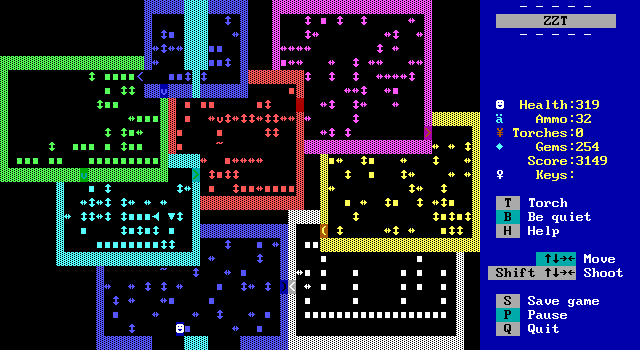
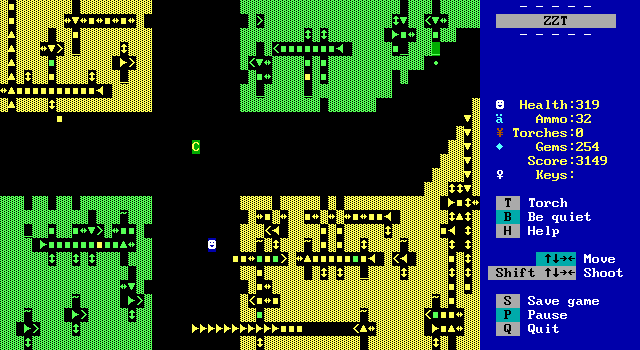
And here we have the last branching path of the game. To me, this board looks a lot like the hub of Town of ZZT. Apparently normal walls and a plus shape are all it takes.
This puzzle, I find scarier than the sliders from earlier. Here there are a dozen boulders to push, and transporters are involved so the effects of moving something are even more difficult to follow than before.
Either I stumbled into the solution, or it's a fake puzzle and there aren't any actual ways to prevent solving it. Pushing in all the boulders where it's possible to do so opens up the last three paths, and gives the player a "C".
The eastern path leads all the way back to the triangle piece room, meaning these next two rooms will be the last. Coincidentally, I also feel they're the game's two worst puzzles.
.
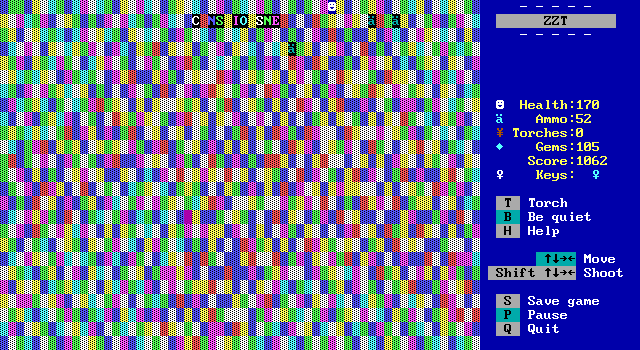
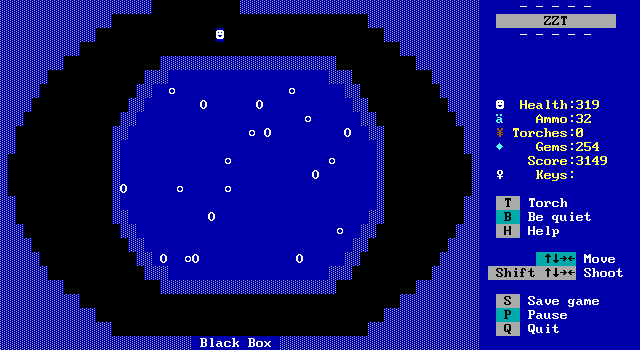
What we have here is a repeat of the previous Black Box puzzle, but this time it's a SUPER Black Box according to the board's title. So what makes Black Box one of my favorite puzzles, but Super Black Box one of my least?
Well, you have to do it blindly this time. The first puzzle worked well because you had all the information, and just had to piece it together. Super Black Box makes you just move from one tile to the next, shooting, and hoping it works. You could make a map yourself and try to identify where all the ricochets are located, but brute force is faster here. The lack of contrast also makes it more likely that your shots will be slightly off when making a long distance shot upwards from the bottom of the screen.
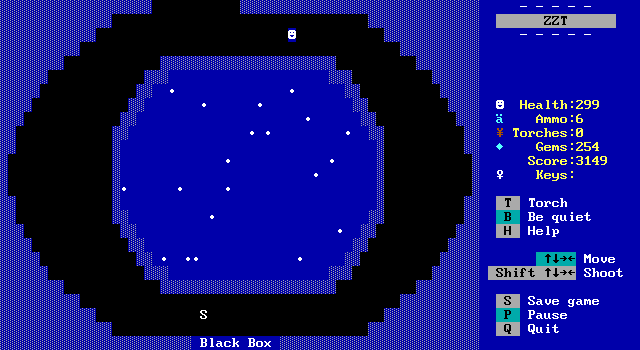
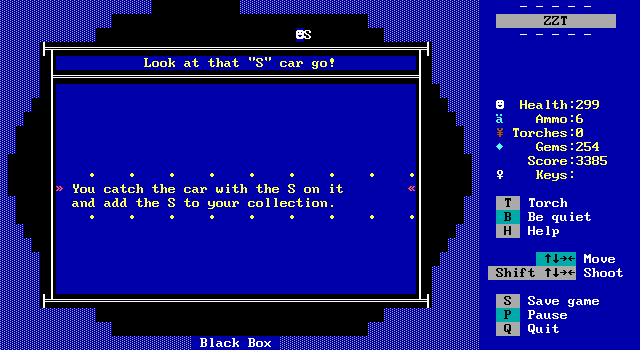
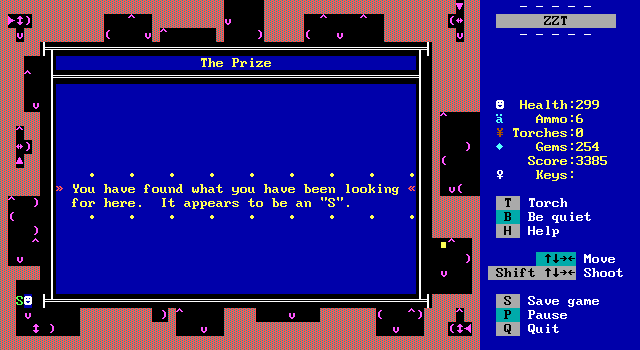
The puzzle is eventually solved, and when you finish it the "S" reward begins running around doing laps around the board until the player catches it.
It's actually VERY important to catch the "S" fast. If you catch it on its first lap you get bonus points. If you catch it on its second lap you don't. If you don't catch it on the second lap, it mistakenly #zaps the touch label again resulting in the S being unable to be collected and rendering the game unwinnable! Your best bet is to use the first lap to line yourself up with it on one of the horizontal stretches across the top or bottom, and then letting it run into you on the second.
With the "S" collected, there's just a single letter remaining. The last puzzle is west of the not Town of ZZT room, and it's also a disappointment.

So this final puzzle is a transporter maze. There's nothing wrong with that. It's a twisty little maze and ZZT's behavior for transporters is pretty complex based on whether there's a matching transporter on the other end, or if the space the transporter is pointing towards is empty. It makes it easy to create one way passages or transporters that don't let you even go through them.
It starts out fun to work your way through, and unlike slider puzzles, there isn't any harm in transporting all over the place unlike pushing sliders haphazardly so the player can feel out the solution.

Eventually, the player will make it into this room with a small purple object.
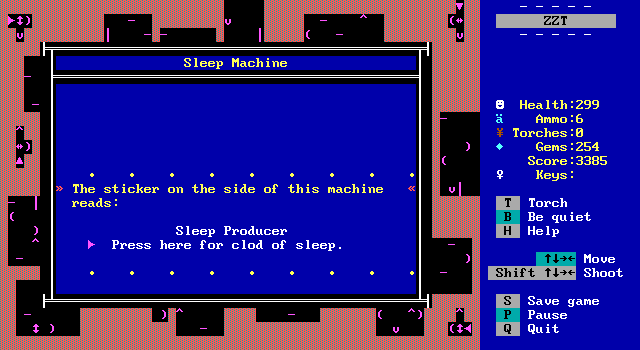
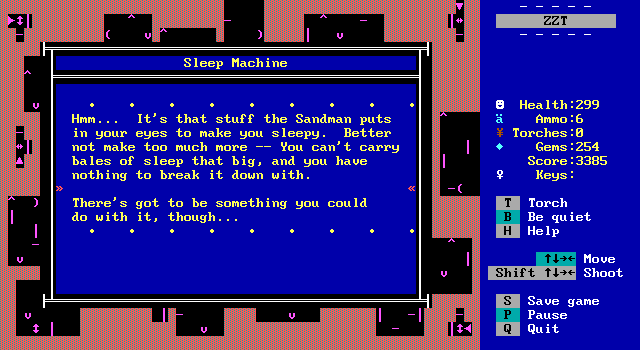

The clod of sleep is a boulder, and by blocking a transporter, causes its behavior to go from placing the player where the boulder is now, to transporting them to the very bottom room which is necessary to be able to reach the goal room.
And then this happens...
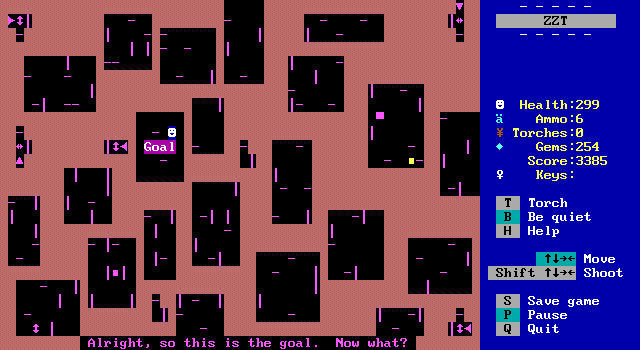

Sure enough, the last letter phases into the lower left room and the player has a new room to try to get to.

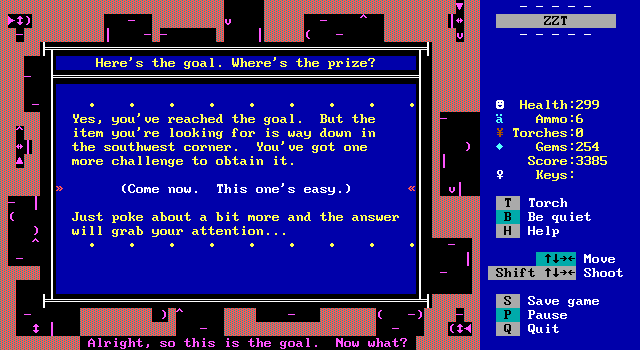
The solution is once more to use sleep to block off a transporter and make it to the last letter.

And this is the moment where you'll realize why this puzzle is terrible. With no boulders in the way, this transporter places the player a single tile to the left of it. Once two boulders block that path, they'll go to the bottom middle room.
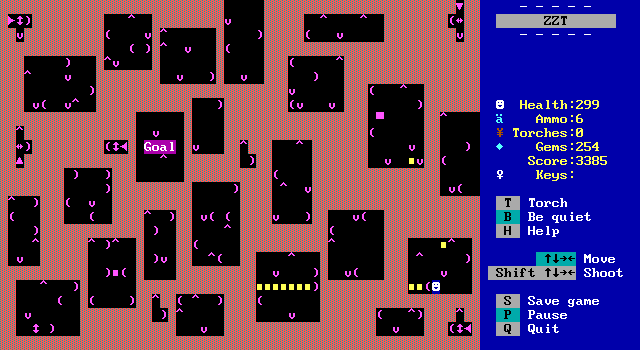
To get to the bottom left room, they have to push a boulder through that transporter NINE times. This involves making a big loop to get back to the room with the sleep generator each time and is incredibly tedious to make the player spend so much time running in circles.
As far as I can tell, there's no alternative that would speed things up. For the first two, it's possible to use an extra boulder and allow you to get back to the sleep room right away, but eventually there will be no more room to push things through on this path and you're stuck doing things the long way.
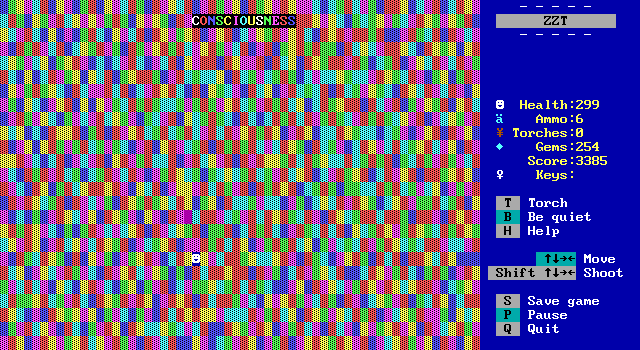
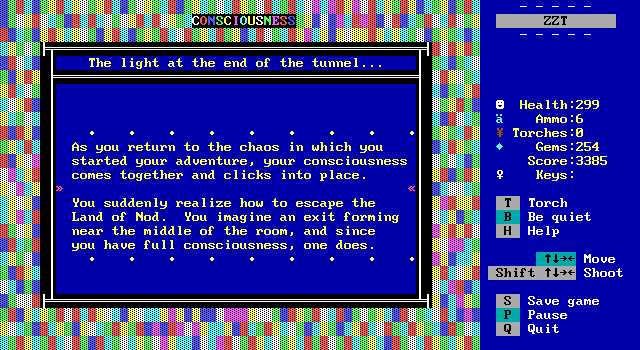
After a lot of tedium, the player can obtain the last letter and wake themselves up.