You don't say!
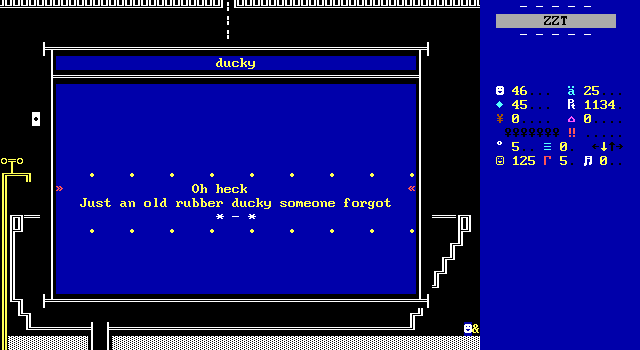
Sorry! Forgot one more thing. The first board of the drain maze has both its upper exits lead to the bathtub board. Take the one of the right to be able to reach the rubber ducky for the twins.
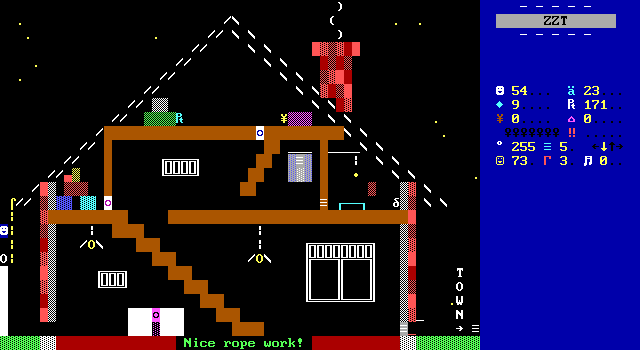
Finally, the drain can be escaped. By using your rope the player to climb up onto the roof and fly around from there back to the front door or town.
Wait, rope?
Oh yeah, you need to buy a rope from the store too. If you don't you're stuck*.
We're done with the drain section of the game entirely now, but it's had a few snags, so let's sum up what Dan Shootwrong wants the player to do in order to clean out this chapter of the game.
- Buy a backpack for 15 gems to be able to pick up any statue pieces
- Buy a rope for 15 gems to be able to get to the roof of the house upon exiting the maze
- Have ammo upon entering the bathroom board in order to shoot the plug
- Head north from the first maze board to get the rubber ducky
- Find the greasy gunk on Drain 5
- Reach the septic tank and acquire Dan's left leg
- Leave the septic tank via passage to town to deposit the left leg. You can only carry one piece at a time, remember!
- Go through the maze a second time to reach the exit to the house
- Shoot into the house and unwrap the present to get Dan's body
- Throw the rope onto the roof and return to down to deposit the body. If you throw the rope, the path to the back of the house is blocked off resulting in a soft-lock if you didn't get the body first
- Go through the maze a third time to reach the Rat Trap
- Acquire the bow, solve the trap puzzle, solve the boulder puzzle, leave this place forever
I'm just one man.
*You can leave via the septic tank as much as you like. Completing the Rat Trap reveals a path to get to the house exit, and you'll need to exit via this path with the rope for the body at some point regardless.
It's awful from start to finish. But now think of how little of this is communicated to the player. Think about how there's effectively a 30 gem requirement to be able to do anything here other than completely waste your time. Imagine having to chart out the maze and solve the Rat Trap only to discover you can't pick up the bow and now have to redo the puzzle and potentially the boulder puzzle as well due to the lack of a backpack.
If you miss anything and are fortunate enough to not immediately render the game unwinnable, your reward is yet more trips through the maze in the future. I played this game with the benefit of being able to change boards at-will and already had to rescue myself from soft-locks several times!
Perhaps some divine intervention would be required.
Mass Pain
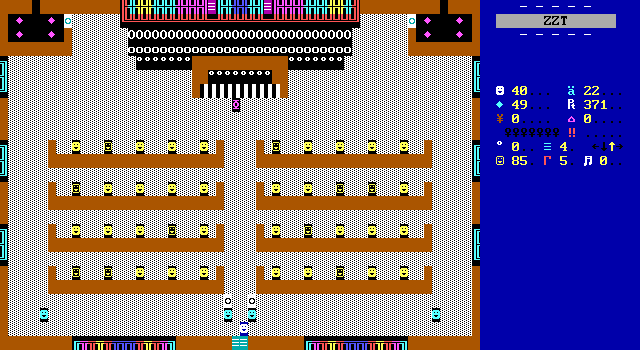
So the financial requirements to buy a backpack and rope in order to actually complete the drain section means that the player shouldn't actually start the game by going there. Initially, there's only one other place to really explore and that's the church. Earlier I said that I suspected that organized religion influenced Clark's life in some way, and this opening interior is what makes me feel that way.
ZZT is no stranger to churches. Typically, a church in a ZZT game is less of a place of worship and more likely to be video-gamey. I expect priests in games (ZZT or not) to level up the player, revive the dead, or heal injuries. Or any of the wild things you'd find in Draco's Teen Priest series. Here in Shootwrong, church is notable because it is so mundane. The player arrives on the scene just in time for collection. Two plates are passed around to all those attending before services are over and the crowd disperses.
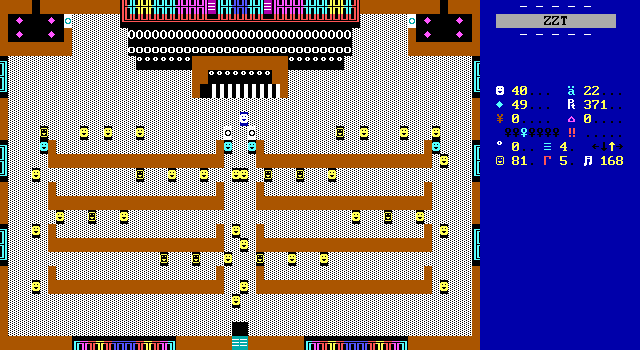
It's actually pretty neat to see how much work was put into making this scene. Everyone in attendance had to have a path coded to reach the exit. I wouldn't have expected anything other than a crowd to remain in the pews forever.
And that organ is great! This is another nice instance of Clark's work with text over objects, creating an impressive instrument that seems to be the centerpiece of the building.
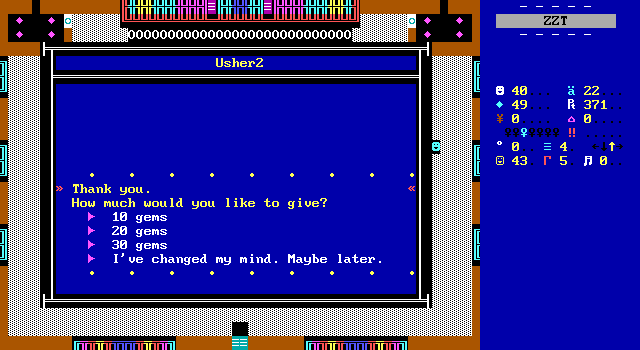
Despite the authenticity, the church does have a specific purpose for Shootwrong. The ushers are asking for contributions to their building fund, and will provide hints for the game with larger donations unlocking more information. Prices are once again high, though of course in a game like ZZT where you can save anywhere and restore that save quickly, nothing stops the player from making their contribution, reading the hints, and then reloading the save to keep their wallet full.
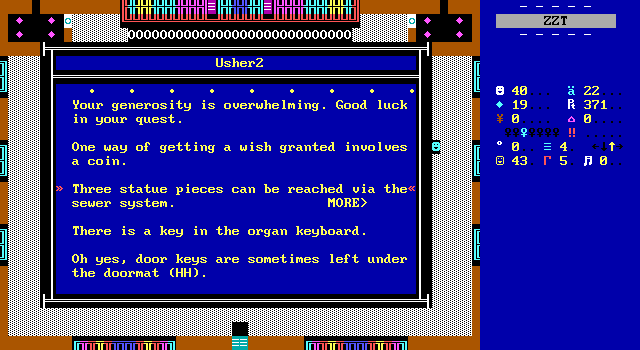
The quality of the information received definitely varies. Some of it is still pretty vague after reading, but being told that there are three statue pieces in the drain is easily worth double the price paid. Other information, like the key hidden in the organ's keyboard is useless. There's a scroll right next to the keyboard that tells you there's a hidden key in the church, with the keyboard being the most obvious place to begin searching.
The key in the keyboard is cyan, meaning it opens up the back area of the church. There are two doors to choose from with both leading to the same place making either one a safe choice.
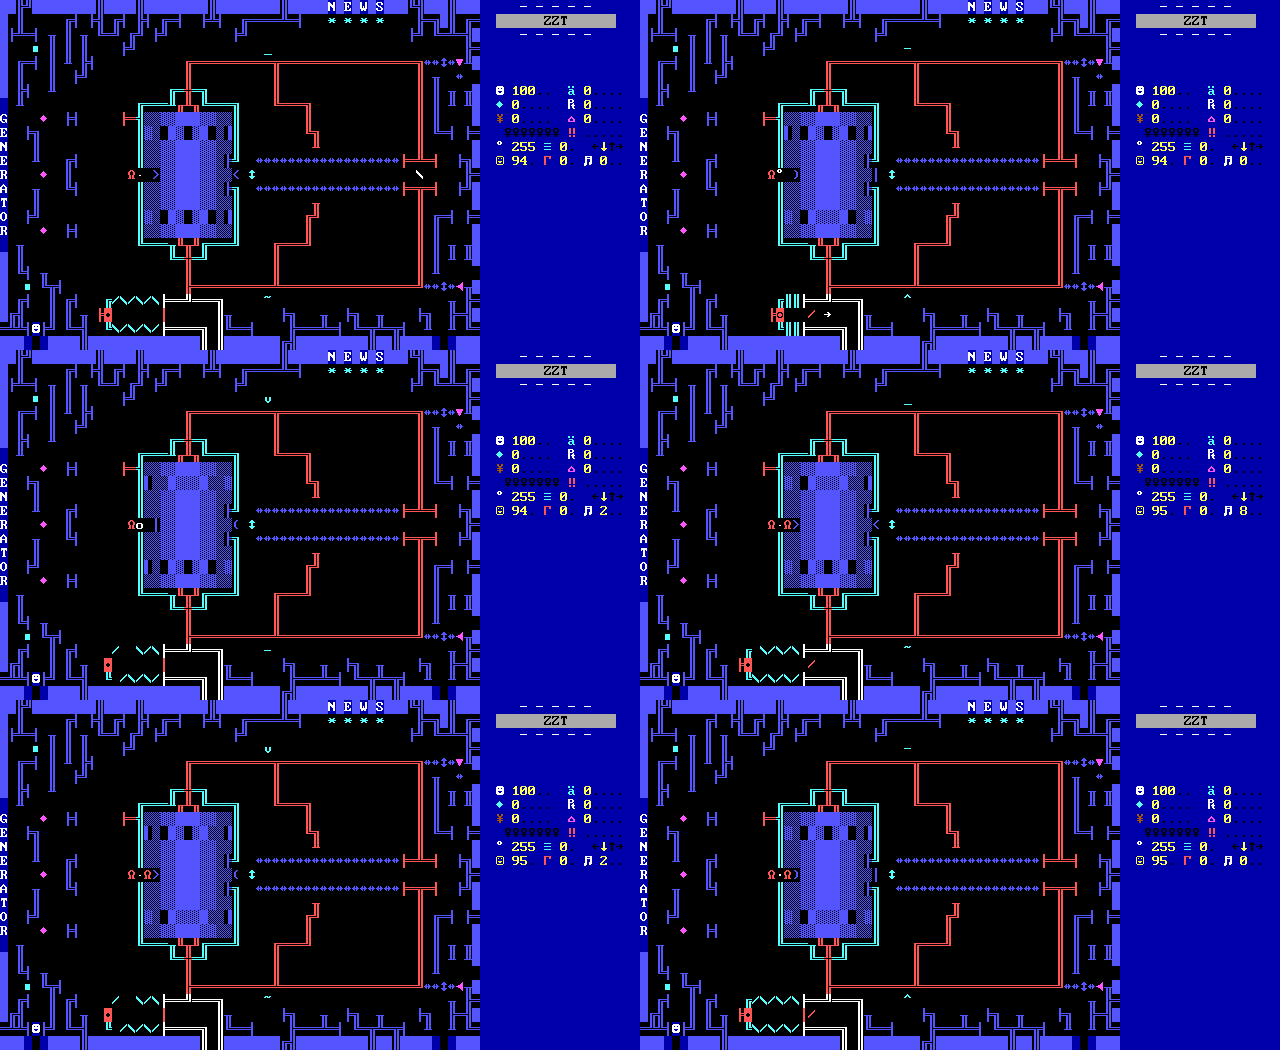
In the back is, of course, a massive generator used to power the organ. And yet again, at first this seems like a very well-made board! The messy linewalls, combined with animated electricity and a very impressive bellows on the bottom make this one a treat to look at. It still has its share of oddities though.
The generator itself has a duplicator surrounded by lions that you'd expect would be used to fill the left side of the board with enemies to deal with. This is not the case. The duplicator actually duplicates to the east, with the source lion currently surrounded by invisible walls. This means the inner area is what slowly fills with lions. This is another board that really reminds me of Al Payne's Smiley Guy series, or more specifically its sequel Toxic Terminator.
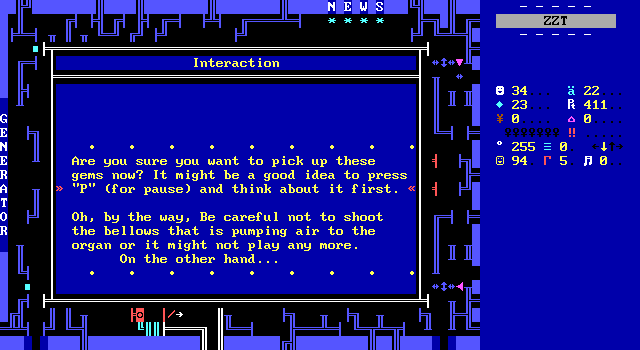
A handful of gems can be collected, with one of them being an object that gives a warning before turning into a regular gem. This kind of warning about collecting items is usually enough to set off alarm bells. The player is taking gems from a church here, something typically not welcome. Despite the warning, nobody in the church will know or care if you take the gems here, but that's not what the warning is talking about.
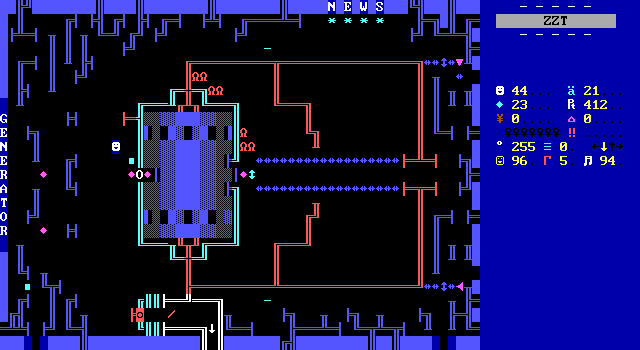
The truth of the warning is that what you're looking at isn't just a fancy piece of machinery. This is a puzzle where the challenge comes from actually recognizing it as such. Upon touching or shooting the objects that surround the lion, they'll disappear. The player is intended to come to the realization that if they use a boulder to push a gem in front of the duplicator, they'll now have a source of seemingly infinite gems!
Normally, this would be a game changing revelation. Infinite money means you can easily buy your equipment from the shop, plus an endless supply of ammo and torches. Of course, picking up duplicated games means infinite health as well. Obviously this doesn't make the drain maze fun to navigate, nor does it help you figure out the Rat Trap or any other puzzles, but it definitely eases some anxieties.
Alas, Clark isn't about to give the player a break like this. The duplicator is kind of slow, enough that you'd want to speed up ZZT before collecting. Then there's the sad truth that your supply of gems here actually isn't infinite. The cyan double arrow inside the generator is a remote-controlled object that moves when the player touches the "N", "E", "W", "S" buttons along the top of the board. This lets you push gems around into these pockets which are going to also have some lions built up based on how quickly the player defeated the source lion. You may fill up these pockets quite a bit, and I suspect you're required to.
To actually collect the gems, the player must free one of the two purple pushers. Allowing either of them to move closes off a path permanently, so one moves to let the player in, and one moves to let the player out.
Perhaps you're thinking: "Just step inside, and reap the profits until you've had your fill. It's not an infinite source, but it's an all-you-can-eat buffet of gems for one time only."
Nope, sorry. The generator also has crackles of electricity right where the player would actually enter the red portion of the board. Touching this results in losing ten health. The only way to disable this electricity is to shut off the generator by hitting the big red power button. Hitting that shuts down the generator, destroying the electricity as well as the duplicator itself.
At most, you get as many gems as you can fit in the pockets and deal with the tedium of controlling a cycle three object to do so. If my counting is correct, you can get 117 gems here, minus whatever the minimum number of lions would be. That is probably not a fun way to spend your afternoon. What's more likely is getting enough gems here to buy a backpack and rope, allowing the drainpipes to become "open".
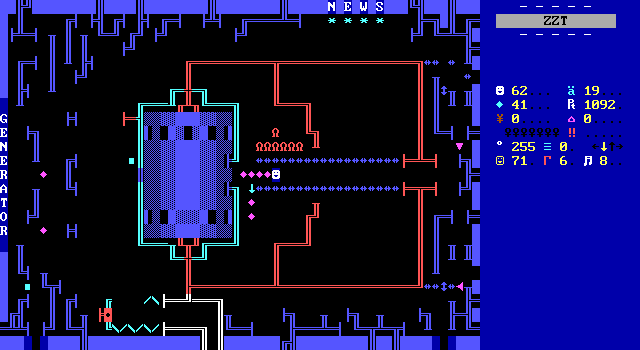
Once you've grown tired of the generator, feel free to blast open the bellows and get a better look at how this church organ works. Rather cleverly for a ZZT game of this vintage, this third exit to the south connects to the main church board, where eagle-eyed readers may have noticed the organ has two passages built into its design. Using a combination of board edge to passage like this so early, is incredibly ahead of its time! The only other game I can think of (though I do not at all think it's the first, or second in this case), is Commodore's Super Archaeologist Simulator, a game released twenty-one years later.
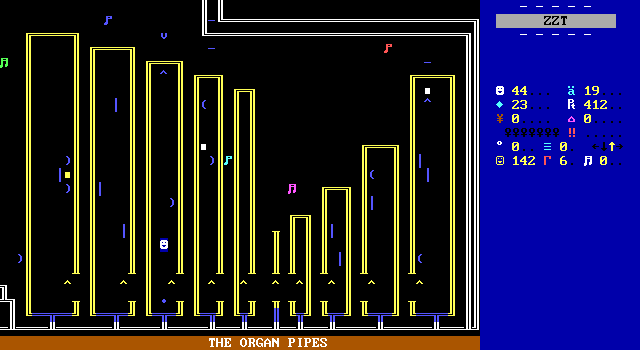
What follows is a very classically styled ZZT board, and perhaps Shootwrong's most peculiar. This looks to be your usual transporter maze with the goal being one odd circular blue object in the third pipe. This time the initial hunch about the board proves correct, and what follows is a fun and fast little maze made slightly more complex with the use of some boulders that can be used to redirect some of the transporters. Even here though, Clark can't resist making a puzzle a little more unfair. In order to actually reach the blue circle, a third boulder is needed. This can be summoned by touching the rightmost completely arbitrarily. None of the others have any code, requiring the player to just decide to touch this one particular object.
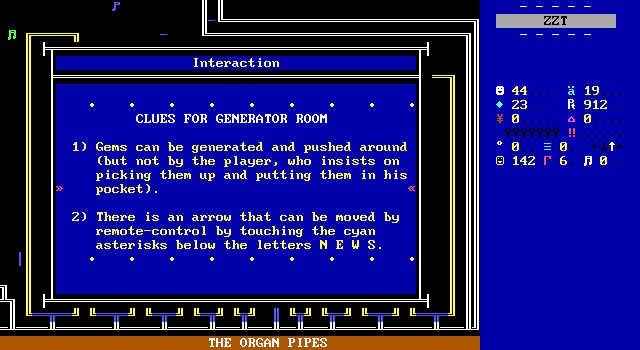
The one saving grace is that all this work is completely optional. The reward is nothing more than some bonus points and two hints for the generator room, one of which is going to be readily apparent to any player touching enough objects to have been able to touch the secret one here. You don't have to shut off the generator to open the bellows at least, so it's not impossible for this information to actually be relevant without loading a saved game.
And that's the church! It's a decent enough source of income. I think the intended path through the game now is beginner hall, church, house, drain (3x). For a player with good eyes still the drain opens up two new areas: the red key allows passage to the west, and the rubber ducky allows passage to the north. For my playthrough, I was only able to go north at this point, making the game get very linear suddenly.
Stay Out of the Puzzle Park
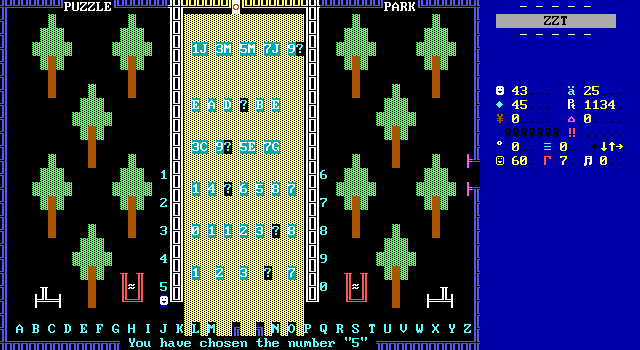
An ambitious looking puzzle awaits the player who dares to venture north. No explanation is given here as this strange puzzle reveals itself. You've got a full set of digits and letters and are left to intuit what to do. I mean, it's not that hard to piece together. Your job is to grab a letter/number and fill in the blank spot in each pattern. This feels like a fairly reasonable puzzle to me as the knowledge required isn't particularly esoteric, though any young child stuck playing Shootwrong is probably in trouble here.
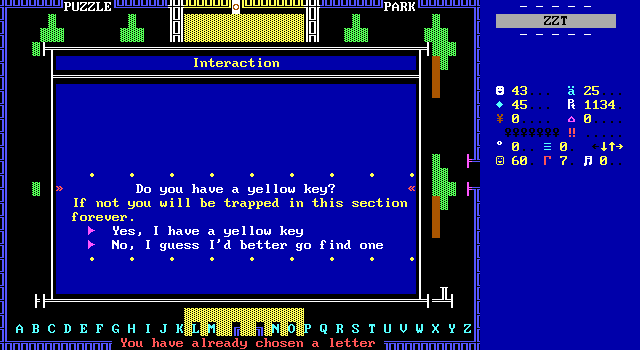
Any excitement at the prospect of playing an interesting game is quickly squashed. Touching the first question mark object warns you that without a yellow key is required before attempting the puzzle or else you'll be stuck. This is 100% an arbitrary decision by Clark that makes no sense to me. Upon completing the first pattern, the gate at the bottom of the board shuts the player in until they solve the rest. These are patterns whose components have no bearing on anything else in Shootwrong. Just let the player leave?
Instead this puzzle has to be discarded for the time being. At least there's an alternate route to the east.
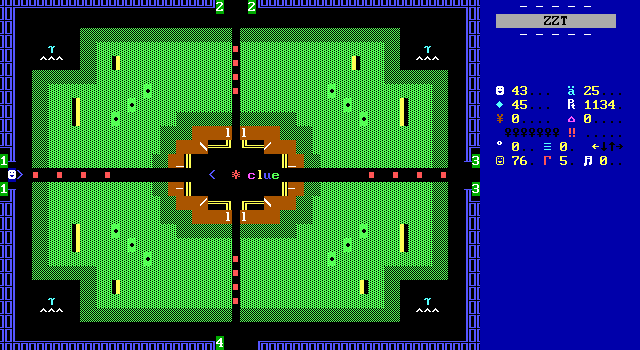
Instead, a different puzzle can be accessed. It's a puzzle that the player is allowed to participate in at least. There's a clue in the middle that explains everything you'll need to know.
You made it into the gazebo but it is
going to be very difficult to get out
because all the exit paths have become
blocked. You can move these obstructions
by pushing them, but the pushing must be
done in a certain sequence. If not you
will be trapped forever.
Oh yes, for your troubles here is a
purple key.
• • • • • • • • •
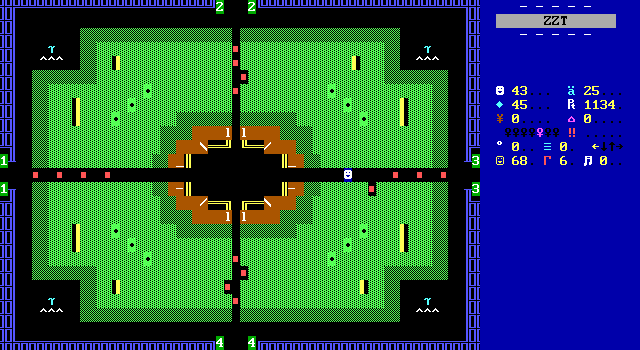
The gazebo puzzle is a disappointment. This is one of those puzzles where various buttons cause different gates to open/close. Something like the one seen in The Mars Rover. Touching the red objects causes some of them to move. Because the gates are performing double duty at the buttons, this means it's possible to actually get stuck if you hit a button close to the exit and it shuts a door behind you. Granted, the disappointment I had wasn't this. In my playthrough I just managed to accidentally solve the puzzle in hardly any moves making it feel way too easy. Obviously your mileage may vary, but when the alternative to a quick victory is having to hope you won't have to reload a save, that's not any good either. This is usually the kind of puzzle that's quite welcome in ZZT as they're usually not able to require the player to start over! Clark has done it again.
:do
#go rndns
To Clark's credit though, the code used on some of these gates is absolutely brilliant. Upon seeing this my first thought was that it was actually a puzzle where pressing the same button multiple times would lead to different outcomes, but in actuality when an object is told to move, it will try to move randomly to the north or south until it succeeds. This random movement effectively toggles the gate's position with a single movement command, just with an unknown delay before doing so. At cycle one that's a good nine movement attempts per second. For something like this where the speed of the gates isn't really important, this works surprisingly well!
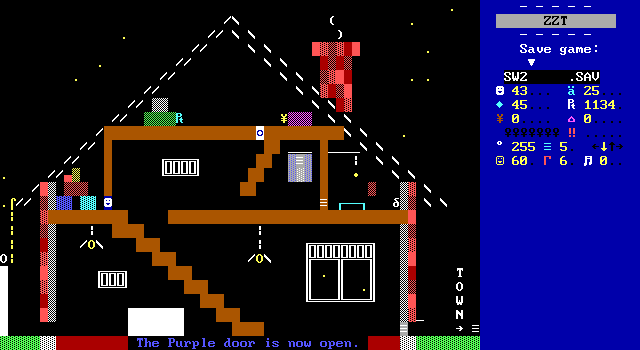
Your reward is a purple key, and thankfully I remembered there being such a door inside the house.
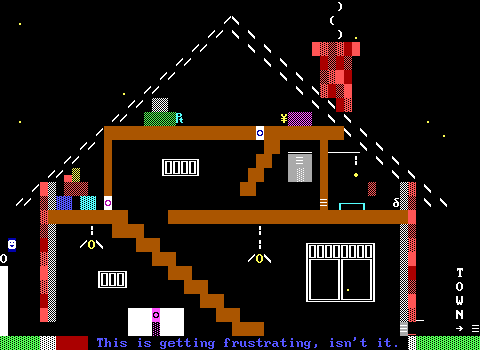
This opens up the closet which has some boxes stacked up. By shooting the middle row out, the two objects sitting on top of them fall down to the ground. Of course, if you accidentally shoot the red object that falls, it breaks and you've just soft-locked the game.
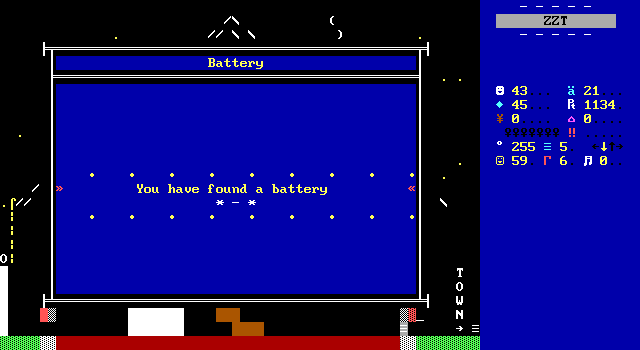
I was worried that the top path petering out so quickly would make it unclear how to proceed, but the battery means opening the eastern path! I hastily ran over to it and...
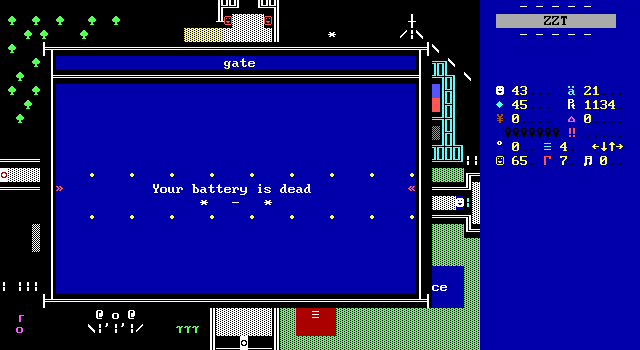
fffffffffff
There's no way Clark doesn't know what he's doing. I refuse to believe that.
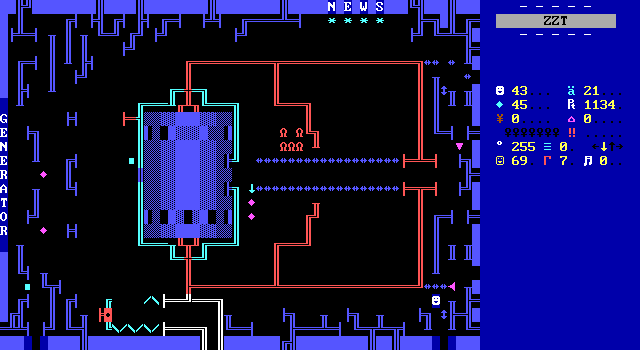
To charge the battery, you have to take it back to the generator. It probably has to be turned back on (the game tells you you can do this, though it warns that that the duplicator won't come back). From there you need to go inside the generator, and touch one specific object that looks like any other blue slider.
Objection!
It's already been established that the generator can only be entered once due to the pushers. There's no way inside at this point without cheating!
...actually yeah. I guess I cheated at this point. There really is no way inside a second time without cheating. It looks like our order of operations needs to be updated to reconcile this fact. That means that you need to go through the drain maze, get the rubber ducky, solve the gazebo, then get the battery and charge it when you go inside the generator, which means you would have to enter the maze at least once before going through the church, which means you can't pick up a statue piece on your first trip through the maze meaning another trip is needed. (And again, if you try to leave via the house without a backpack and rope you're screwed.)
This game is incredible.
E1M9 ...Kind Of
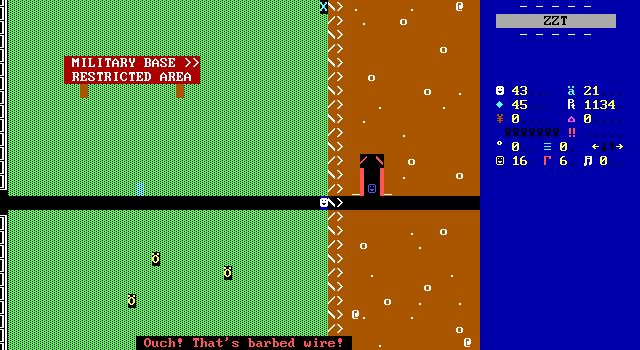
With the battery now charged, it's finally possible to head to the east where there's a cute little with some cows just chilling outside the perimeter of a military base.
The field is mostly solid ground, but there are two hidden cow paths that can be walked on to say hello to the cows, and to pick up a pair of wire cutters required to cut through the fence. I love that the justification of your adventures in this game is "vandals dismantled a statue" and now it's escalating to breaking into a military base
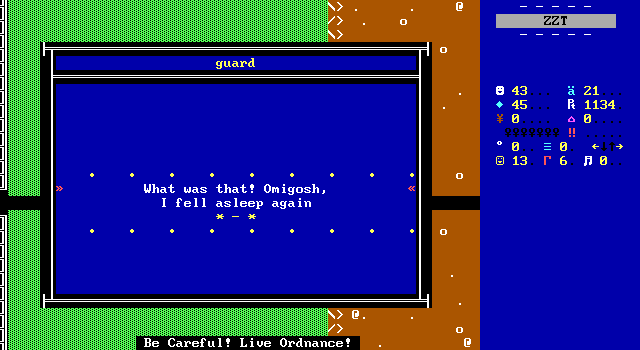
Upon crossing the fence, the sleeping guard wakes up and confronts you. Perhaps trying to get inside from any other point would have been better.
They're not exactly scary at least. The "Omigosh" instantly calms me down, reminding me of Anne from the much more charming game Invasion ZZT Revision. They ask the player if they're friend or foe, with the latter resulting in being thrown into the brig. Claiming to be a "friend" raises questions about why you cut the fence.
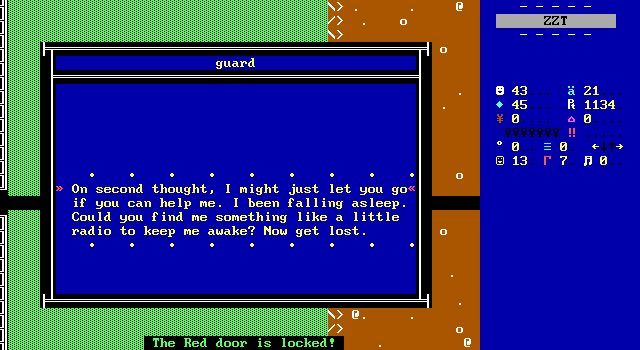
The guard still intends to take the player into the brig, before deciding to not bother. The player is let go, but given a new quest to find a radio so the guard can stop falling asleep so easily. Since getting the rubber ducky, I feel as if I've been giving the run-around. It's just one thing after another as I try to go either north or east from the start and keep running into roadblocks immediately. A trip to the file viewer puts me in the right direction of getting this guard their radio.
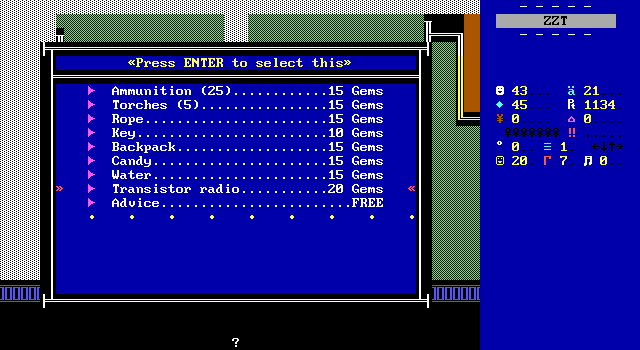
Simple enough. The shop just has one one now once the flag has been set.
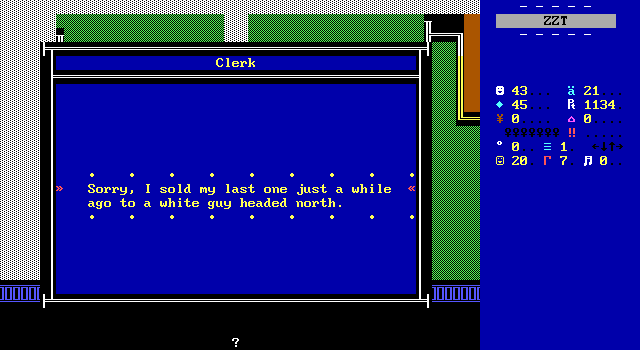
Just kidding!
The radio is currently being possessed by a white guy. As in the object has a white foreground color.
Now the trouble is that I've already been to the north. The file viewer confirms the radio to be on a board north of Puzzle Park which I can't pass because even if I solve the puzzle, there's a yellow door in the way. So my quest is one again redirected to finding where the yellow key is. To my knowledge at this point, I have exhausted all routes of travel. In reality, I could get the red key in the septic tank and head west, where there is eventually a yellow key that exists for exactly this purpose. Due to my ignorance, I assumed this was inaccessible and therefore had to find an alternative.
Which... technically there is?
I have to stress that the solution I found is not the intended solution. I have a lot of things to say about the design of the game, but what I am about to reveal is my problem, not Clark's.
...
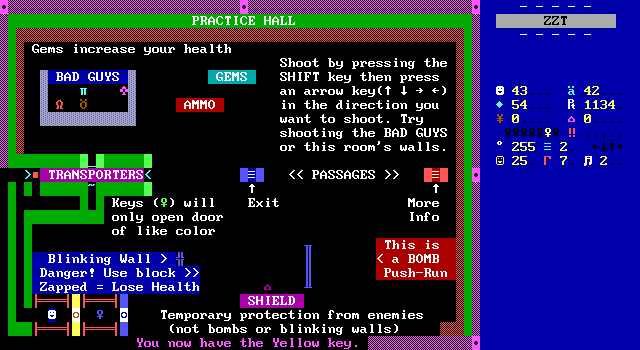
...The practice hall at the start of the game has a yellow key that you can keep if you use a boulder to allow yourself to exit via transporter.
I'm not going to lie. I got to this point in the article before taking one last look at my screenshots to double check and realize I finished the game with a yellow key from the western path because of this incorrect assumption. Clark fights the player from start to finish, but he does not require you to find a way to keep a key from the game's tutorial in order to complete it.
Believing this to be the intended solution though, may have colored my thoughts on the rest of the game. Had this been intended, it would have been perhaps one of the cruelest design decisions I've ever seen in a ZZT game. No, the proper order is to head west after the drain, get the yellow key from that part of the game, and then you can head north fully, as well as get the radio to explore the eastern portion of Shootwrong.
If anything, this trick gives the player an opportunity to skip either a yellow or blue key by taking one from the training hall, so that's something at least.
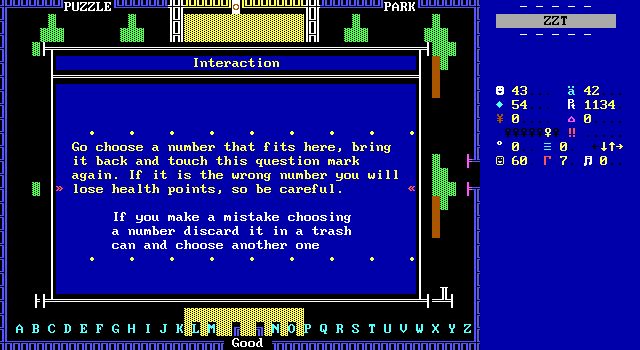
Finally, time for Puzzle Park! I enjoyed this one, though only the very first and very last made me need to stop and think for a moment.
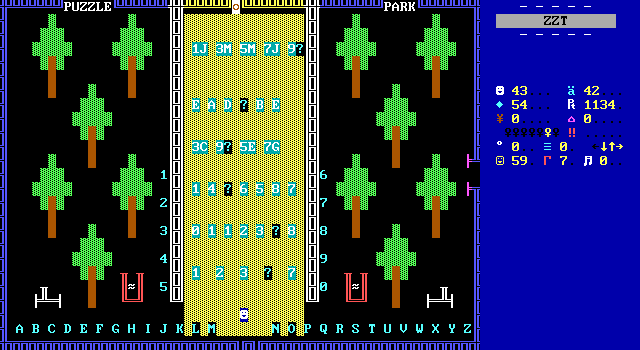
You can just play along at home if you like as all the information is presented on the board itself. Incorrect answers cost a surprisingly kind five health, and of course you can just reload a save and brute force your way through.
If you do end up making a lucky guess rather than being confident in your choice, the game explains why the answer is correct afterwards.
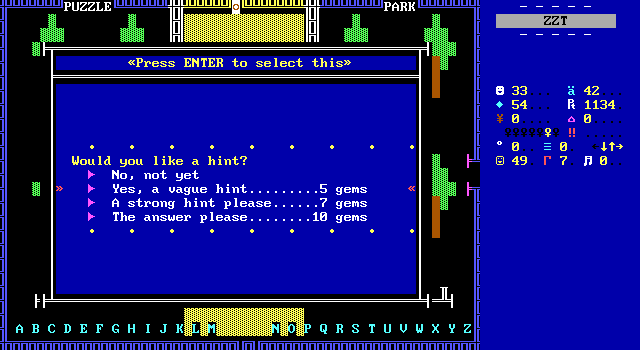
Lastly, after two mistakes on a given puzzle, the option is presented to purchase hints or the solution outright.
All in all, I liked the puzzle, and while it relies on outside knowledge that some folks may not have (though nothing is particularly esoteric) the hint/answer system makes this something anybody should be able to get through regardless of their knowledge of math/English/music. I'll take it over the Rat Trap any day at least.
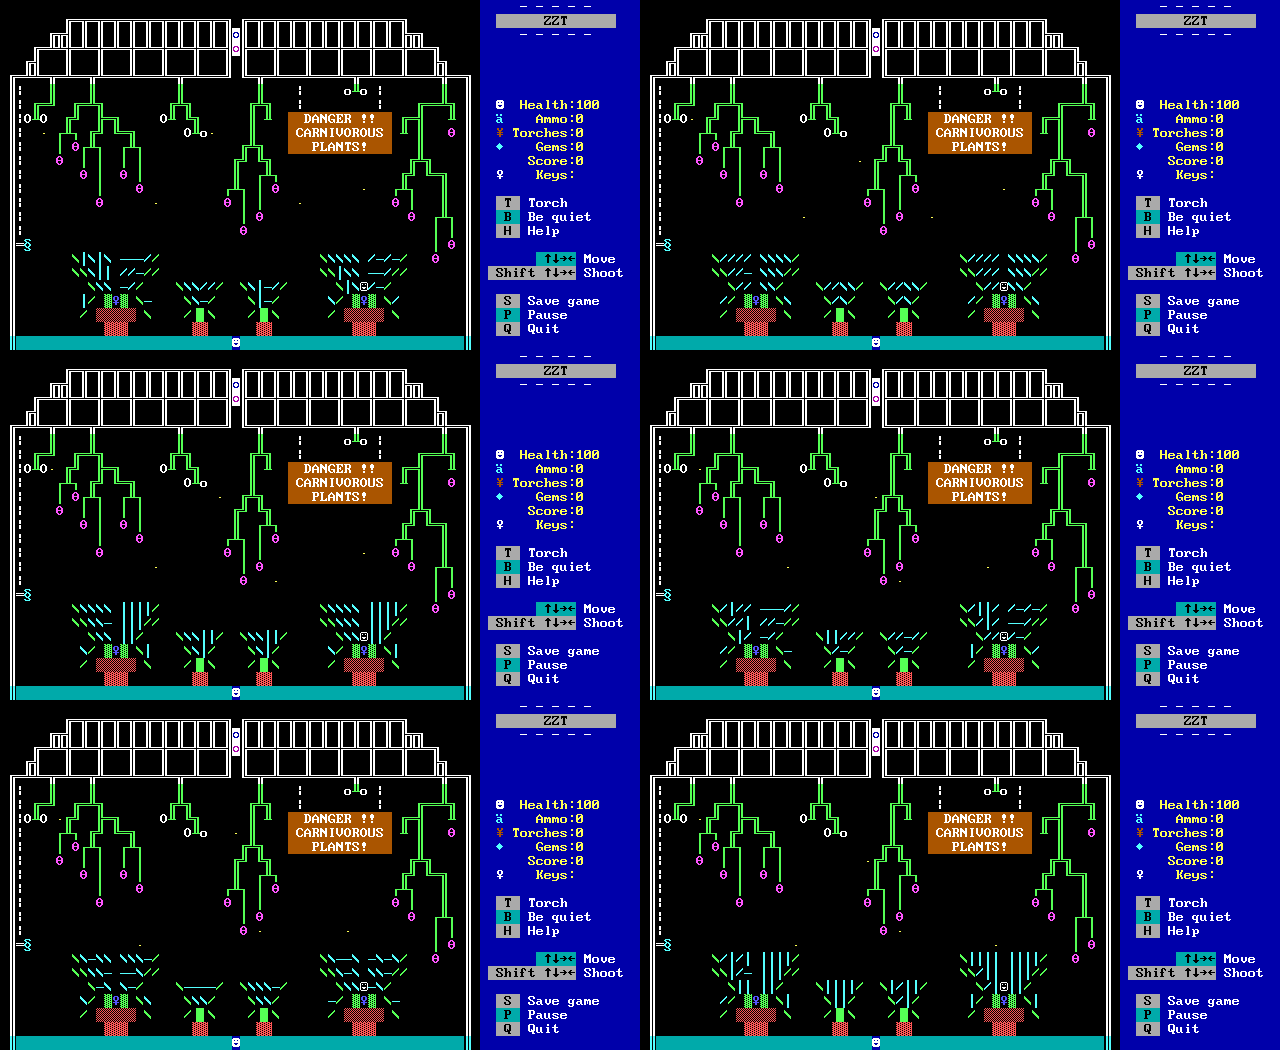
And look! Another gorgeous and creative board! This board nearly hits the stat limit, something you'd hardly know existed in most worlds of this vintage that aren't flood-filling a room with ruffians. The visuals of Shootwrong are the game's best efforts in convincing the player to put up with its mechanics, this board being a great example of both. I think it's my favorite board visually out of all of them honestly, it just looks so different from what you'd expect to see thanks to further usage of the flying player in a sideways room technique. The dangling sign manages to take what would normally just be a label to identify a board and manages to integrate it into the design itself. It really makes a difference between text being written over a board and text that would actually be found in such a space.
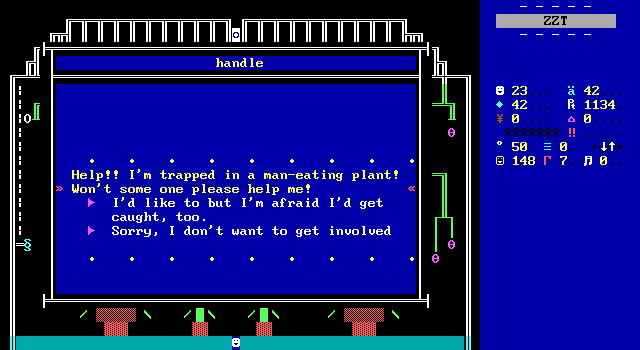
Shortly after entering the board the man who appears stuck in one of the giant plants calls out for help. I love that both responses to their pleas are to turn them down. The first, and honest answer is treated as a "yes", with the victim suggesting that you find something sharp to cut away the plant with, which sounds like yet another quest.
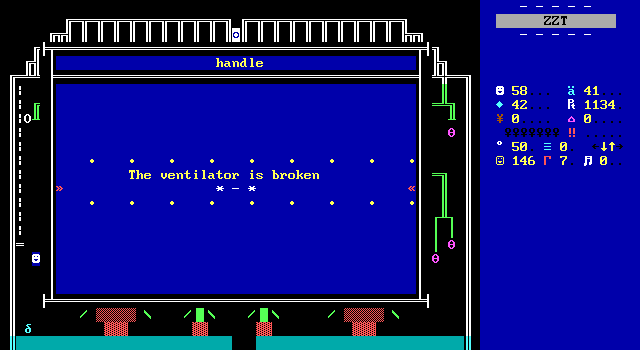
Fortunately, the objective is on this very board. Playing with a ventilator on the wall will cause this incredibly clumsy protagonist to break it, where it falls to the ground and shatters into some sharp pieces. What was this thing made out of?
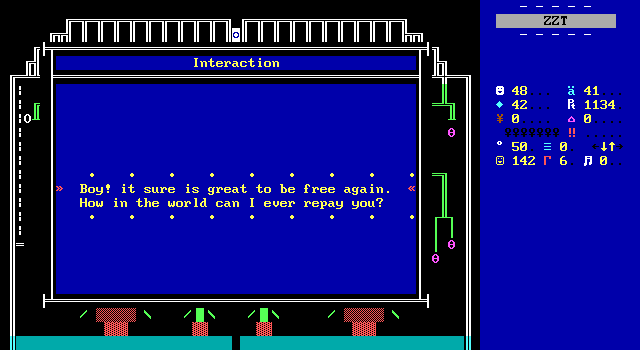
Actually freeing the person requires heading into the plant yourself, which thanks to the conveyors will trap the player if they lack the broken handle to hack themselves out. Once freed, they ask if there's anything they can do to repay you, which is when the player can bring up the radio and acquire it.
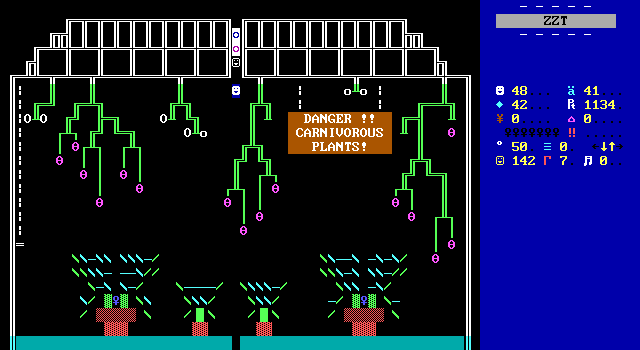
Unfortunately, this board isn't without its problems. This time, we're not dealing with poor design decisions, but actual honest to goodness bugs that can break the game.
The obvious issue here is that after accepting the radio, the white guy tries to leave through the top of the board where a purple and blue door are in the way. If you don't open these in advance (and note that in the screenshot I have neither key at the moment) the path will be blocked permanently.
There are of course two blue keys on the board. Presumably, one is for the blue door here, and the other is for the attic in the house. Alternatively, with the beginner hall trick you can opt to get a blue key if you open the yellow door and then leave via transporter. Still, either way, in both instances I've been unable to figure out how to successfully extract the keys.
My first assumption was to shoot the breakable walls beneath each key, which is doable if you dive into the plants, but doesn't actually provide an exit. It turns out that both plants have invisible barriers placed that prevent exiting from the lower portion of the plants. The one on the right has no clues at all. If you go in to get it, you're stuck and that's that.
On the left, things are a bit more interesting. The key is actually an object that turns into a real key at a certain point. A single conveyor that seems out of sync with the rest is also an object. The code seems to want the player to stand above the key and then be pushed out by the object, but the false-conveyor also moves and ends up trapping the player all the same as it doesn't move enough to actually move away from the plant entirely.
Another potential lead is that the fruit hanging up top can be eaten. Some of them have "square pits" and turn into boulders, an element that goes hand-in-hand when it comes to blocking conveyors, but this also goes nowhere. Any boulders will just be sucked in, and while this can trigger the left key's code and make the fake-conveyor move, it still ends up blocking the top of the plant, trapping the key if not the player. Interestingly, part of the code for handling the rescue goes out of its way to erase any boulders, indicating a realization that you might trap the victim with one and then yourself never be able to free them.
Shootwrong is really impressive with the amount of code it uses, and this board is no exception. While the game has lots of questionable design decisions, this is the only instance in the game where I feel like I've run into an outright bug. If anybody finds a way to get these keys I'd love to know what I'm missing. I suspect this board actually makes Shootwrong unwinnable without cheats.
Mind you, even if you did get one of these blue keys, you'd then be required to have the purple key and open both doors before the victim gets stuck as well. The code on this board is oddly limited. If you don't know you need a radio you can't answer the pleas for help or pick up the handle. I'm fairly sure if you enter this board prior to knowing about the radio and break the handle you also end up breaking the game as the handle object is what, well, handles the repeated check for the radio quest.

